Veryfi Lens Settings
General Settings
autoDeleteLocalResourcesAfterProcessing
Automatically delete the documents saved locally (default: true)
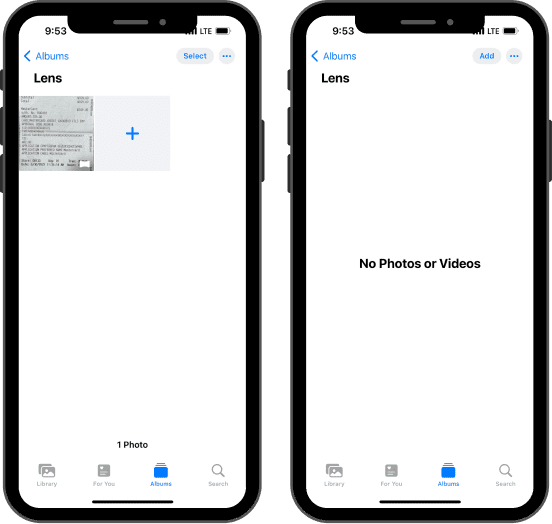
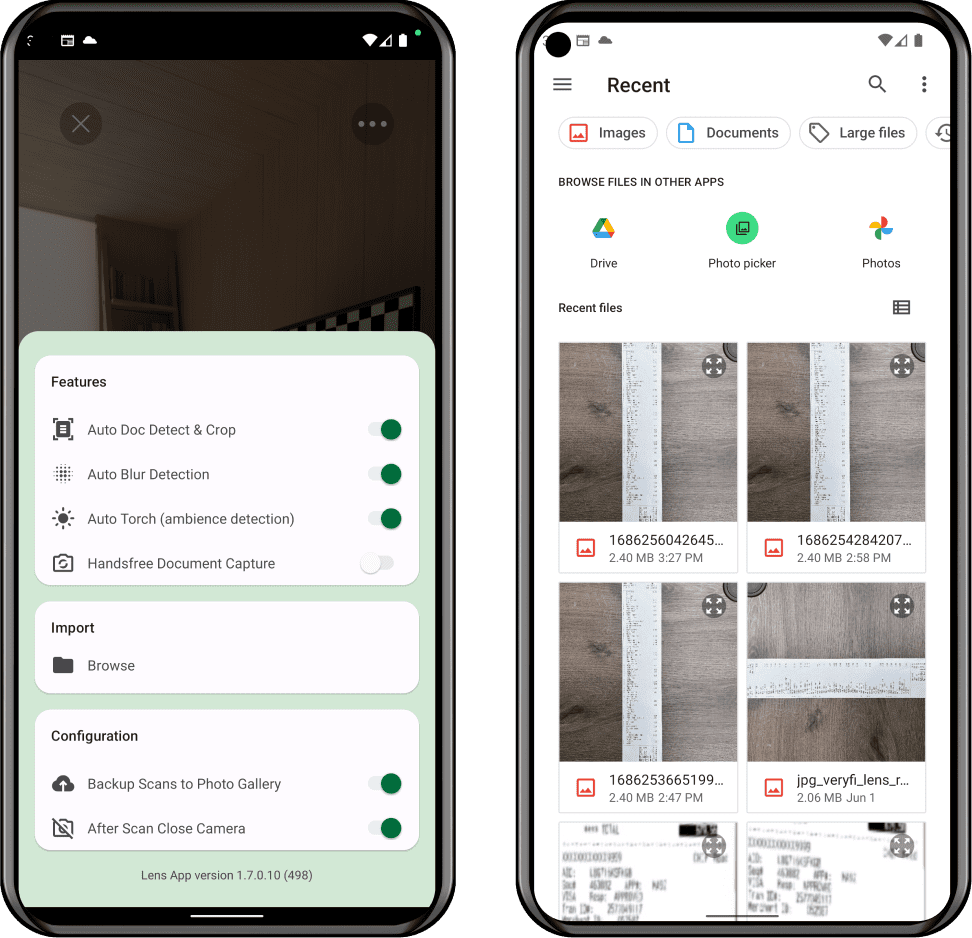
backupDocsToGallery
Uses photo gallery to back up each scan -- Must ask user for permission (default: true)
- iOS
- Android

checksBackIsOn (Veryfi Lens for Checks only)
Toggle Checks Back to enable or disable the capture of the back side of checks after the front side has been taken. This setting helps streamline the check processing workflow within your app, ensuring all necessary information is captured for both sides of the check.
checksBackIsRequired (Veryfi Lens for Checks only)
Enable this setting to require users to capture the back side of checks after the front side has been taken. This setting helps to ensure the capture of both sides of the check. (default: false)
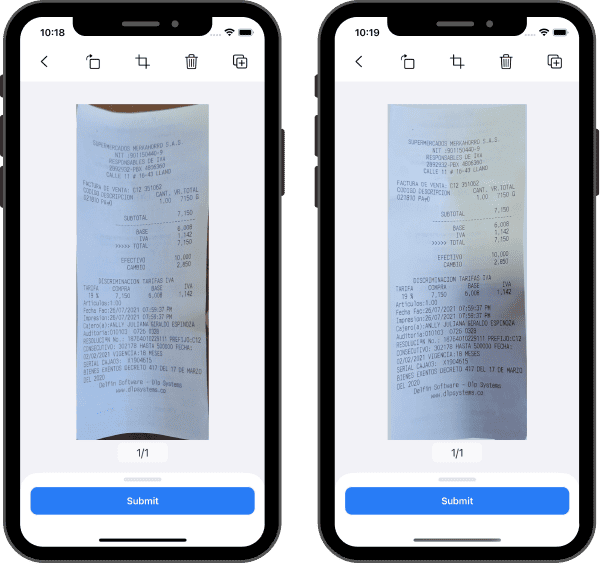
closeCameraOnSubmit
By enabling Close Camera On Submit (default: true), the Lens camera view will automatically close after a user submits an image, returning them to the host application for a streamlined user experience.
customLensStrings (iOS only)
Customize localizable strings in lens UI by setting a key:value object of type [String: [String: String]] where the first key is the language code an the child object key is the current string to replace and the value is the new string to use. All visible strings in the UI are customizable.
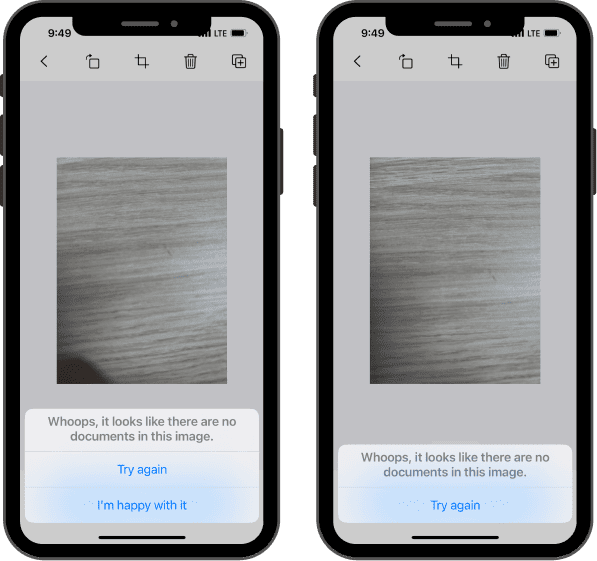
Changing string `Try again` in English to `Retry`
settings.customLensStrings = [
    "en": [
        "Try again": "Retry",
        // Add more strings
    ],
    // Add more languages
]
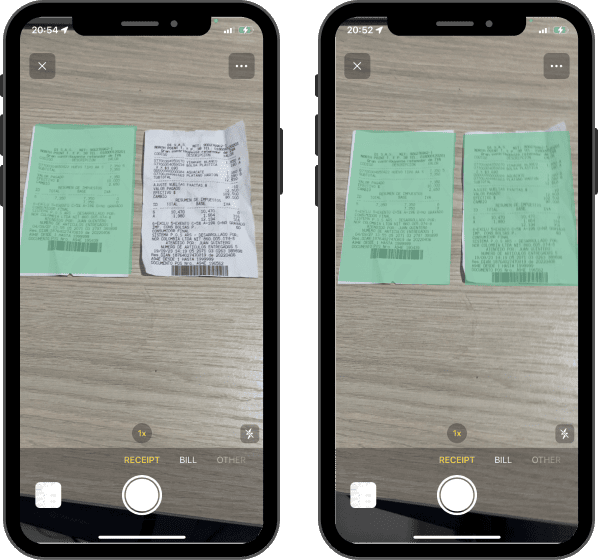
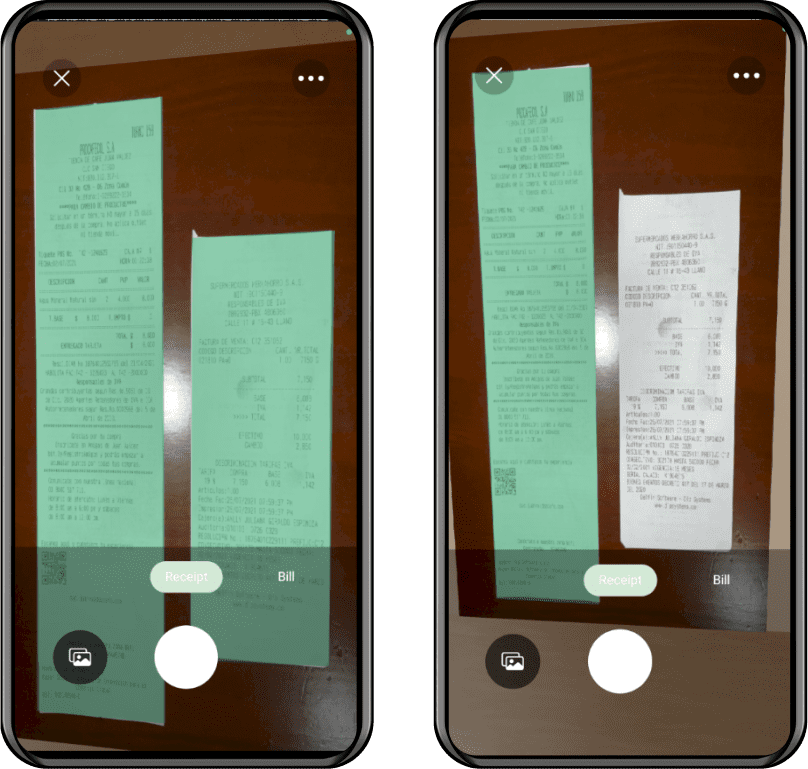
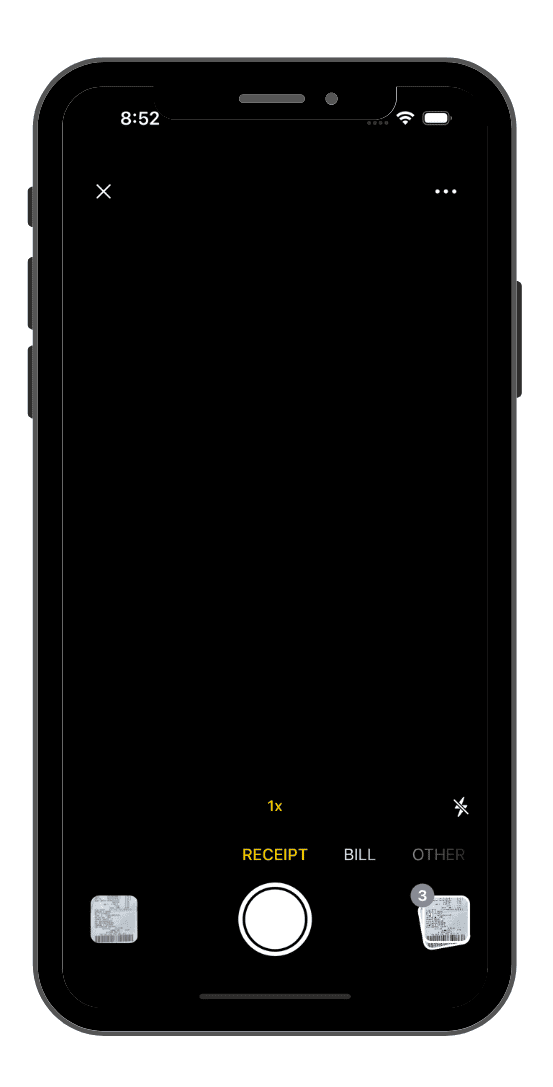
defaultSelectedDocumentType
Which is the default selected document type (default: DocumentType.RECEIPT)
documentTypes
This setting is only available when showDocumentTypes is set to true. List of document types to collect, with a user selection to switch between specified types. Allowed values are:
long_receipt - allows user to capture a long receipt by scanning it from top to bottom. Multiple frames are captured and stitched together, similar to a panorama photo, except in vertical orientationreceipt - standard camera experience, whereby documents will be detected as either a receipt or an invoicebill - standard camera experience, documents will be marked as billcredit_card - standard camera experience, will read details from credit cardsother - standard camera experience. Only OCR processing is performed on the document, no field extraction is performedbusiness_card - standard camera experience, will extract data from business cards or document with similar sizes like passport, national document (Limited support at the moment)check - offers a landscape orientation in the camera and scan checkscode - extracts data from promo codesw2 - scans w2 tax formsw9 - scans w9 tax formsbarcode - extracts data locally of most common barcode typesbank_statement - extracts data of bank statementsinsurance_card - extracts data of insurance cardspassport - extracts data of passportsdriver_license - extracts data of drive licensesnutrition_fact - extracts data of nutritions factsfont
Allows the use of a custom font in the lens (default: "")
- iOS
- Android
- Capacitor
- React Native
- Flutter
Add the Font File to Your Xcode Project
To add a font file to your Xcode project, select File > Add Files to “Your Project Name” from the menu bar, or drag the file from Finder and drop it into your Xcode project. Also, make sure the font file is a target member of your app; otherwise, the font file will not be distributed as part of your app.
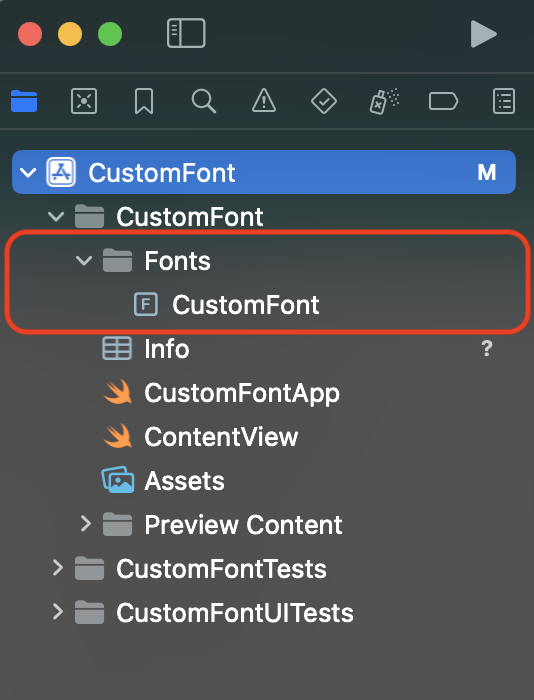

You can add True Type Font (.ttf) and Open Type Font (.otf) files.
Register Your Font File with iOS
After adding the font file to your project, you need to let iOS know about the font. To do this, add the key "Fonts provided by application" to Info.plist (the raw key name is UIAppFonts). Xcode creates an array value for the key; add the name of the font file as an item of the array. Be sure to include the file extension as part of the name.

Set the custom font in VeryfiLensSettings
let settings = VeryfiLensSettings(with: jsonSettings)
settings.documentTypes = ["receipt", "bill"]
settings.showDocumentTypes = true
settings.font = "CustomFont.ttf"
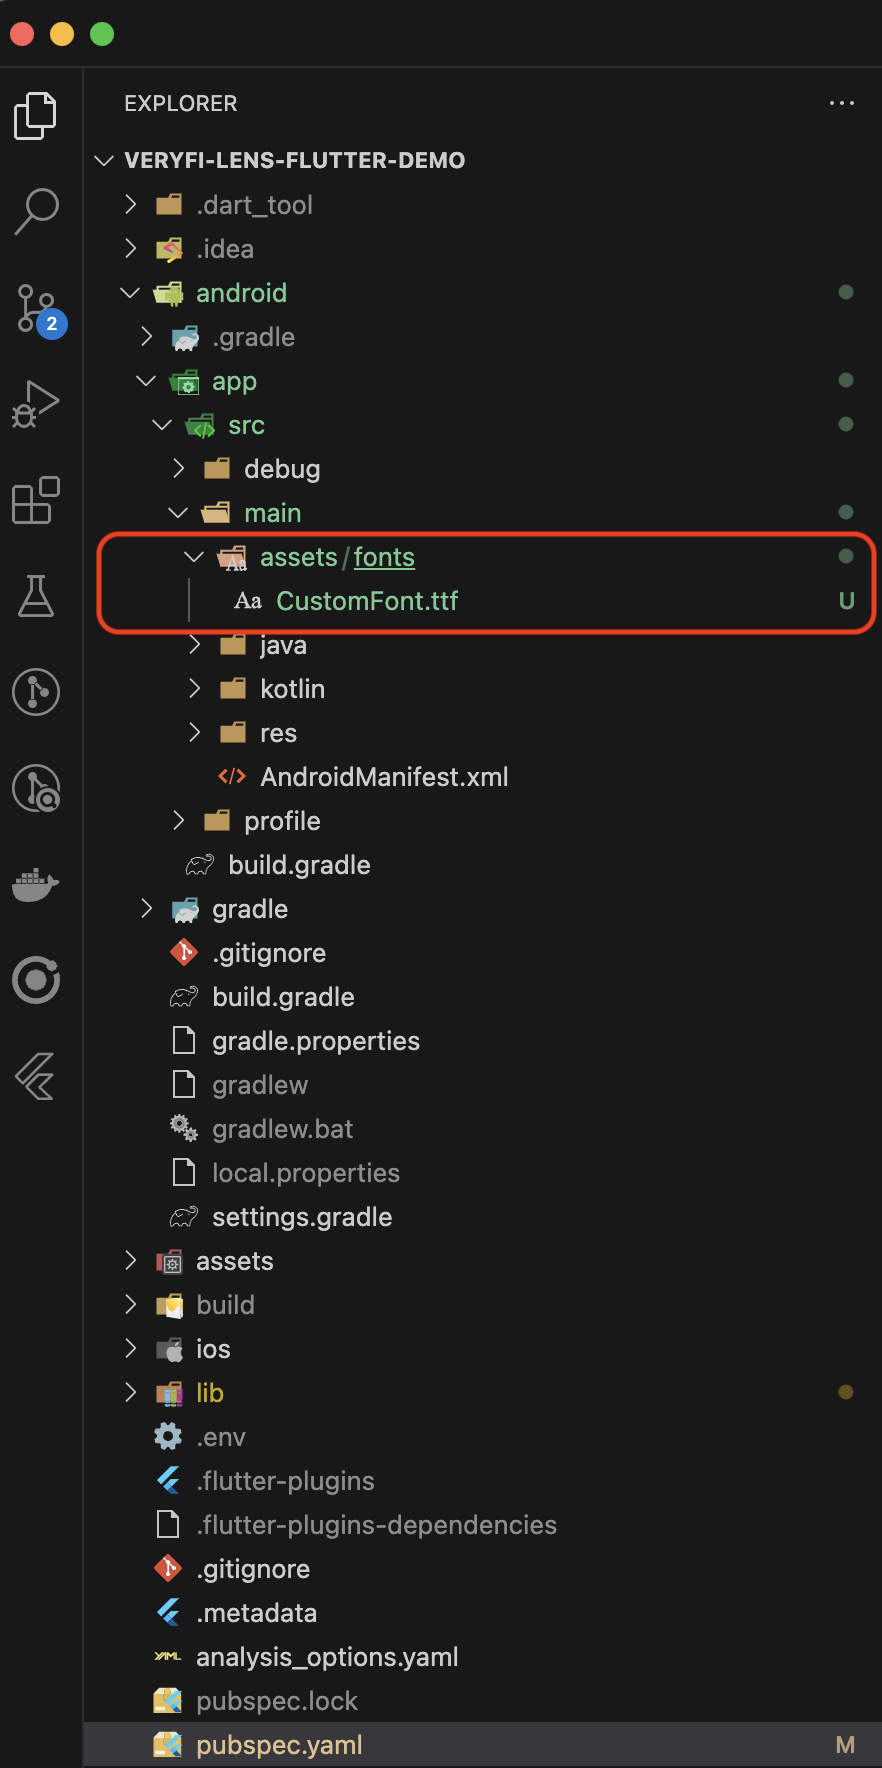
Add the Font File to Your Android Project
To add a font file to your Android project, copy font files to android/app/src/main/assets/fonts, or drag the file from Finder and drop it into your Android project.
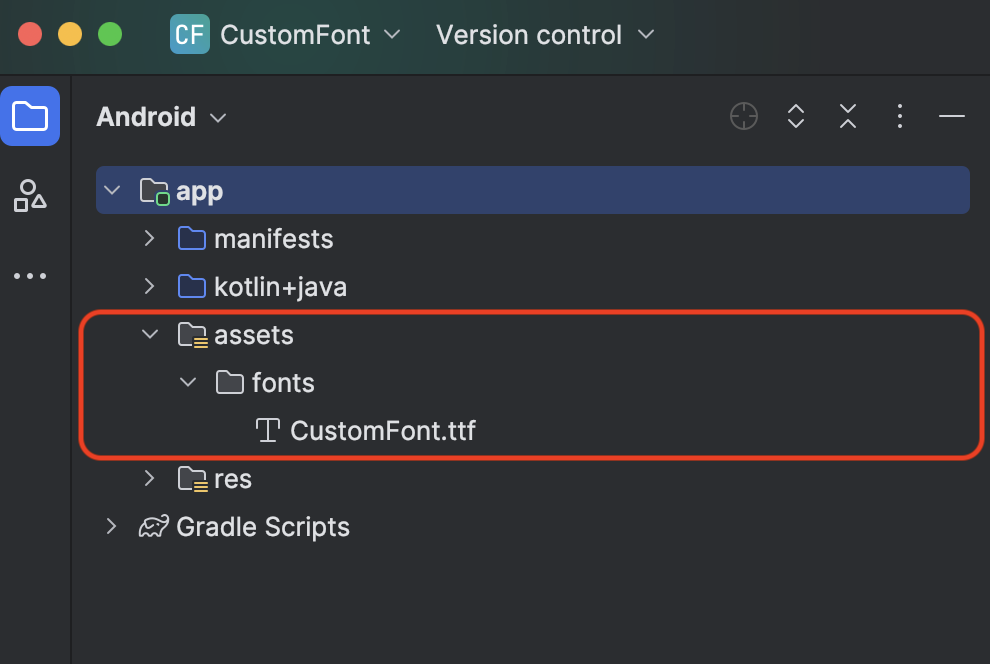
You can add True Type Font (.ttf) and Open Type Font (.otf) files.
Set the custom font in VeryfiLensSettings
val veryfiLensSettings = VeryfiLensSettings()
veryfiLensSettings.font = "CustomFont.ttf"
Add the Font File to Your Android Project
To add a font file to your Android project, copy font files to android/app/src/main/assets/fonts, or drag the file from Finder and drop it into your Android project.
Add the Font File to Your Xcode Project
To add a font file to your Xcode project, select File > Add Files to “Your Project Name” from the menu bar, or drag the file from Finder and drop it into your Xcode project. Also, make sure the font file is a target member of your app; otherwise, the font file will not be distributed as part of your app.
You can add True Type Font (.ttf) and Open Type Font (.otf) files.
Register Your Font File with iOS
After adding the font file to your project, you need to let iOS know about the font. To do this, add the key "Fonts provided by application" to Info.plist (the raw key name is UIAppFonts). Xcode creates an array value for the key; add the name of the font file as an item of the array. Be sure to include the file extension as part of the name.
Set the custom font in VeryfiLensSettings
const veryfiLensSettings = {
    documentTypes: ['receipt'],
    font: 'CustomFont.ttf'
};
1. Barrel project
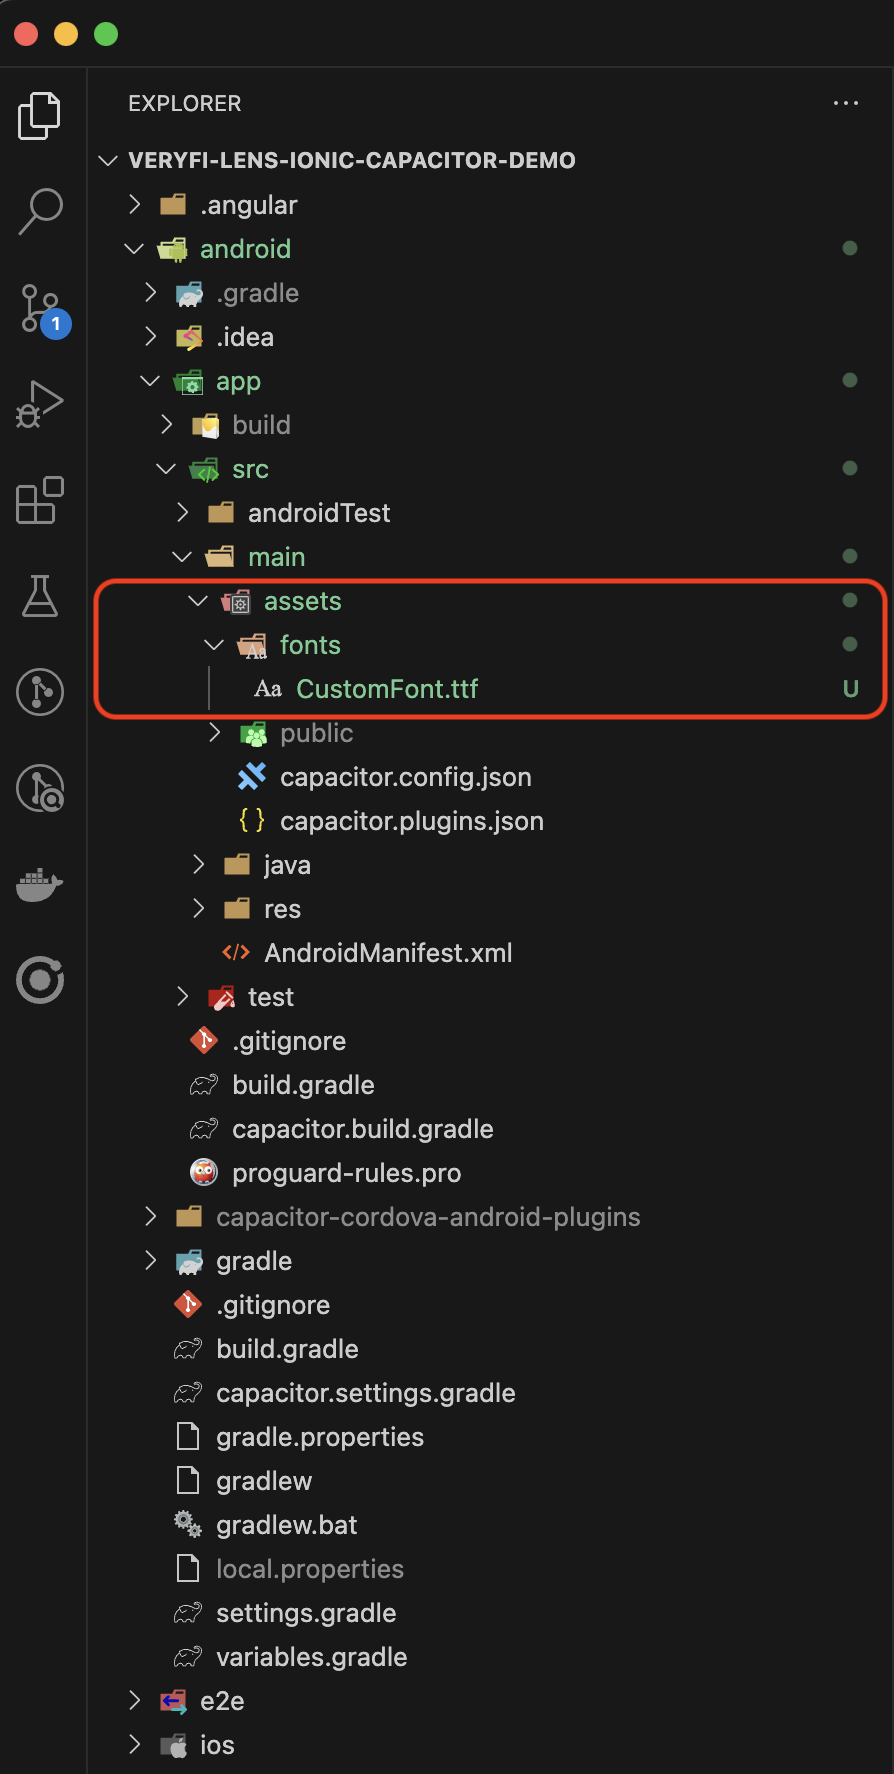
Add the Font File to Your Android Project
To add a font file to your Android project, copy font files to android/app/src/main/assets/fonts, or drag the file from Finder and drop it into your Android project.

Add the Font File to Your Xcode Project
To add a font file to your Xcode project, select File > Add Files to “Your Project Name” from the menu bar, or drag the file from Finder and drop it into your Xcode project. Also, make sure the font file is a target member of your app; otherwise, the font file will not be distributed as part of your app.
You can add True Type Font (.ttf) and Open Type Font (.otf) files.
Register Your Font File with iOS
After adding the font file to your project, you need to let iOS know about the font. To do this, add the key "Fonts provided by application" to Info.plist (the raw key name is UIAppFonts). Xcode creates an array value for the key; add the name of the font file as an item of the array. Be sure to include the file extension as part of the name.
Set the custom font in VeryfiLensSettings
const veryfiLensSettings = {
  blurDetectionIsOn: true,
  autoLightDetectionIsOn: false,
  documentTypes: ['receipt'],
  showDocumentTypes: true,
  font: 'CustomFont.ttf',
};
2. Expo project
Install expo-font library
npx expo install expo-font
Add the Font File to Your Expo Project
To add a font file to your Expo project, copy font files to assets/fonts, or drag the file from Finder and drop it into your Expo project.
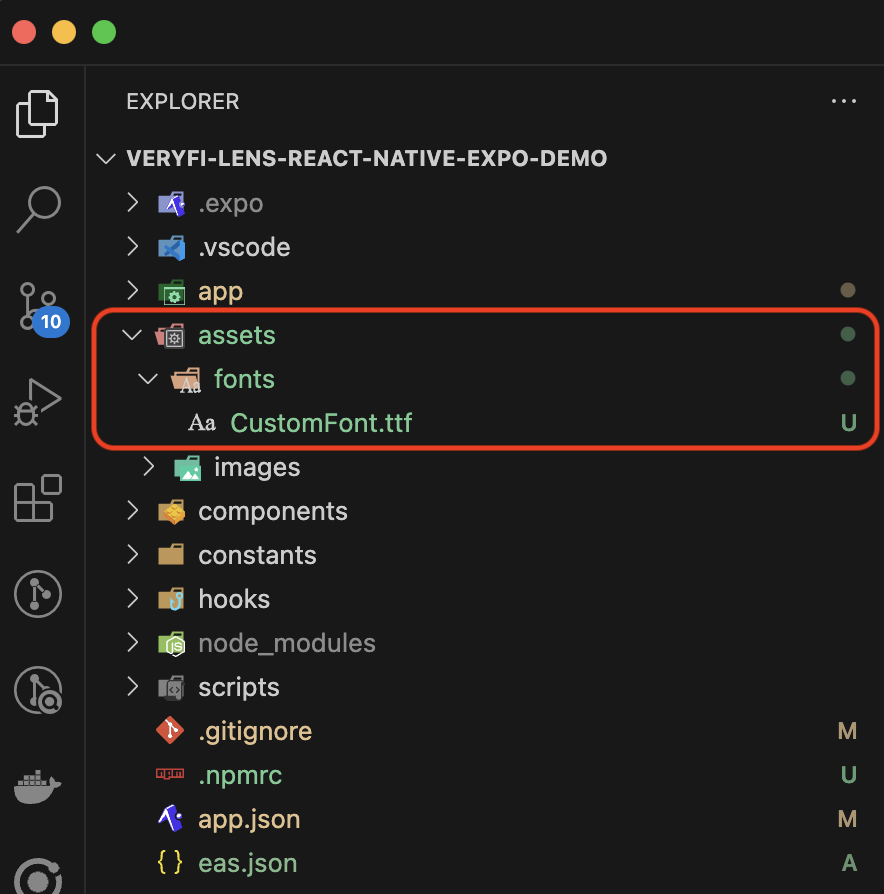
You can add True Type Font (.ttf) and Open Type Font (.otf) files.
Set expo-font in plugins
{
  "expo": {
    "plugins": [
      [
        "expo-font",
        {
          "fonts": ["./assets/fonts/CustomFont.ttf"]
        }
      ]
    ]
  }
}
Set the custom font in VeryfiLensSettings
const veryfiLensSettings = {
  blurDetectionIsOn: true,
  autoLightDetectionIsOn: false,
  documentTypes: ['receipt'],
  showDocumentTypes: true,
  font: 'CustomFont.ttf',
};
Add the Font File to Your Android Project
To add a font file to your Android project, copy font files to android/app/src/main/assets/fonts, or drag the file from Finder and drop it into your Android project.
Add the Font File to Your Xcode Project
To add a font file to your Xcode project, select File > Add Files to “Your Project Name” from the menu bar, or drag the file from Finder and drop it into your Xcode project. Also, make sure the font file is a target member of your app; otherwise, the font file will not be distributed as part of your app.
You can add True Type Font (.ttf) and Open Type Font (.otf) files.
Register Your Font File with iOS
After adding the font file to your project, you need to let iOS know about the font. To do this, add the key "Fonts provided by application" to Info.plist (the raw key name is UIAppFonts). Xcode creates an array value for the key; add the name of the font file as an item of the array. Be sure to include the file extension as part of the name.
Set the custom font in VeryfiLensSettings
static Map<String, dynamic> settings() {
    return {
      'font': 'CustomFont.ttf'
    };
}
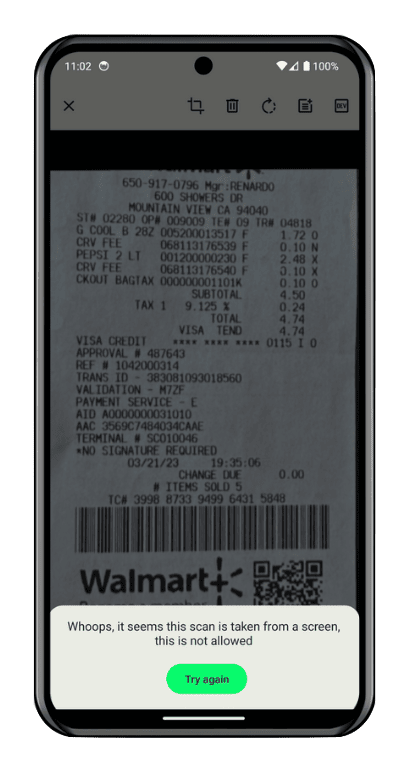
fraudDetectionIsOn
Toggle Fraud Detection to enable or disable the ability to recognize a picture of a document displayed on a screen, which may indicate fraud. Use this setting to help ensure that only real, physical documents are processed within your app, improving overall data accuracy and integrity.
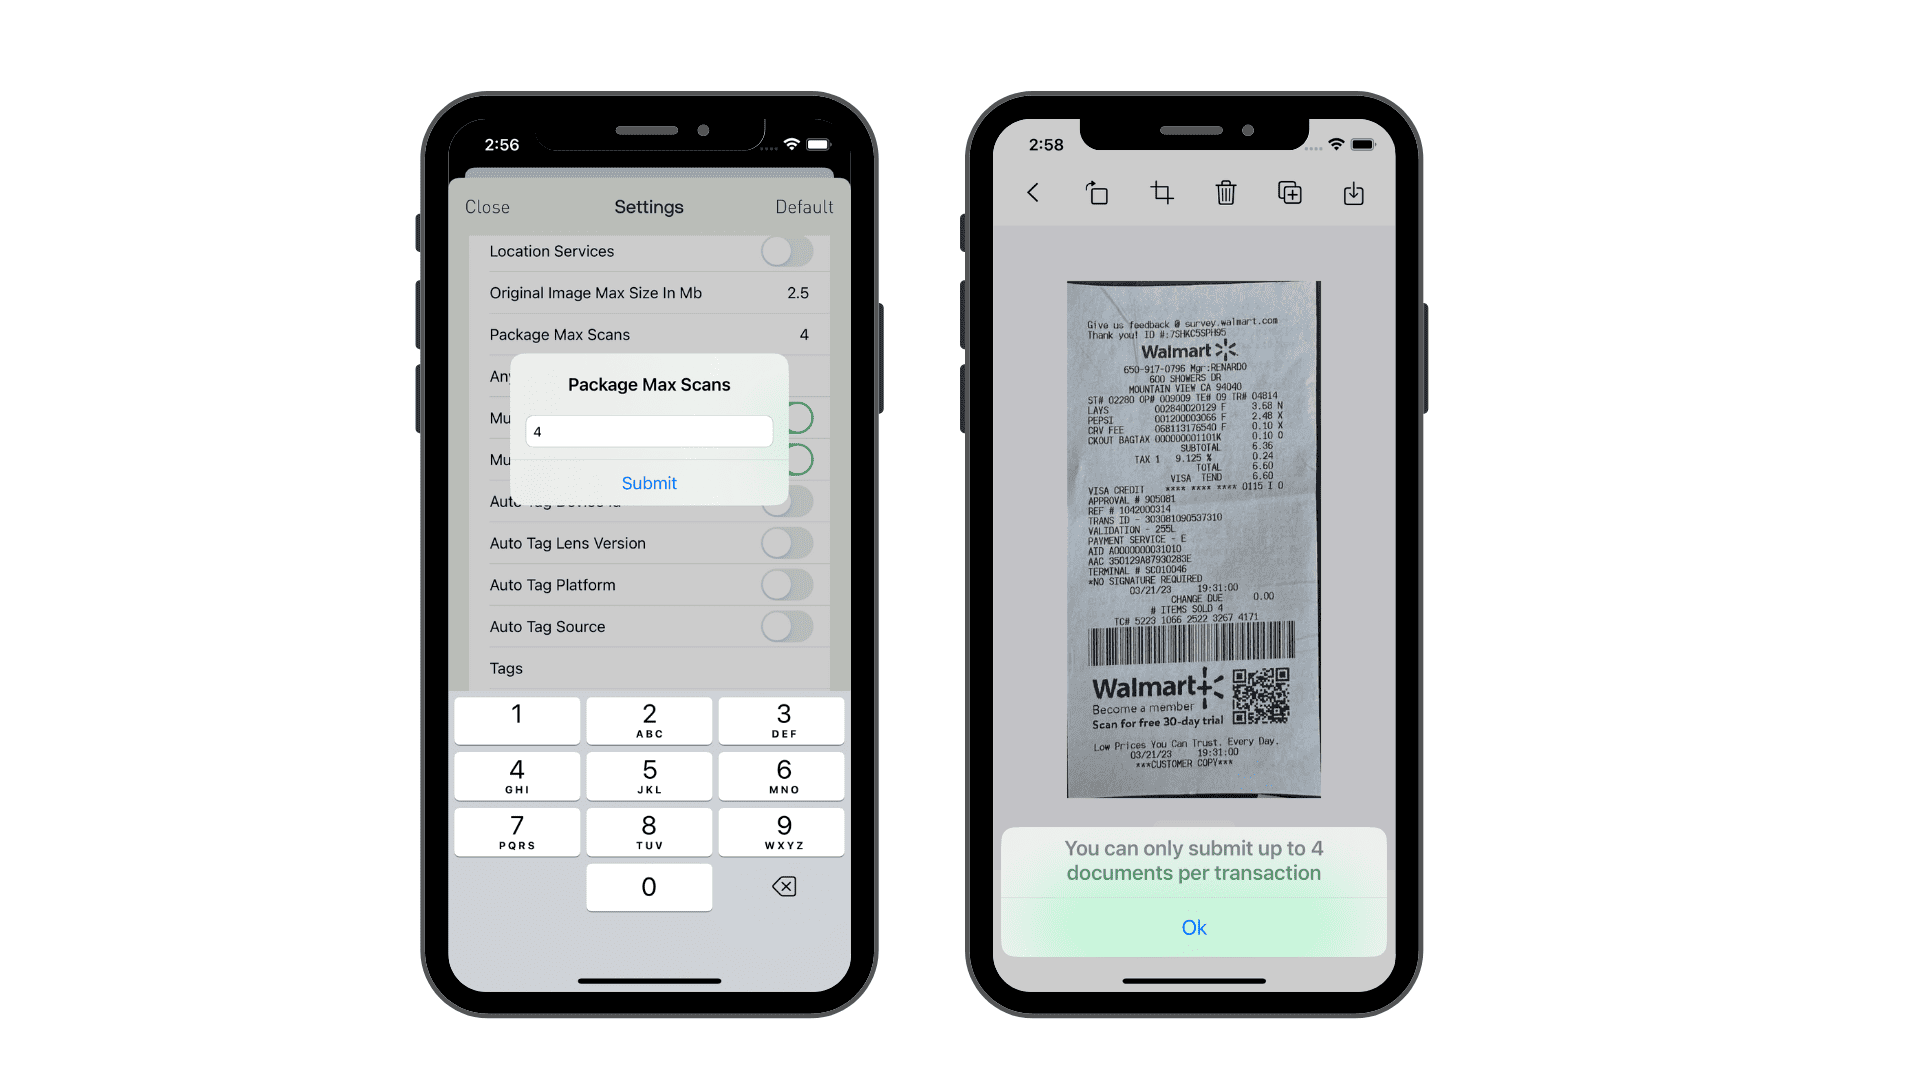
locationServicesIsOn
Toggle Location Services to enable or disable location services for capturing the user's latitude and longitude (default: true). This provides additional context for document processing when location data is relevant to your app's requirements.
notificationChannelName (Android Only)
Sets the name of the notification channel used for uploading files for processing (default: veryfi_channel_notification)
originalImageMaxSizeInMB
Configure the Original Image Max Size In Mb setting to set the maximum size in MB for produced images (default: 2.5). The valid range is 0.2 to 2.5 MB, allowing you to optimize image quality and file size based on your app's requirements.
returnStitchedPDF
Enable Return Stitched PDF to receive the file path of a stitched PDF in the veryfiLensUpdate delegate function when multiple images are combined into a single document (default: false). This facilitates easier access and management of merged documents within your application.
saveLogsIsOn
Enable the Save Logs setting to store logs on the device, which is recommended for aiding with debugging if needed (default: true). This feature helps identify issues and improve app performance during development and maintenance.
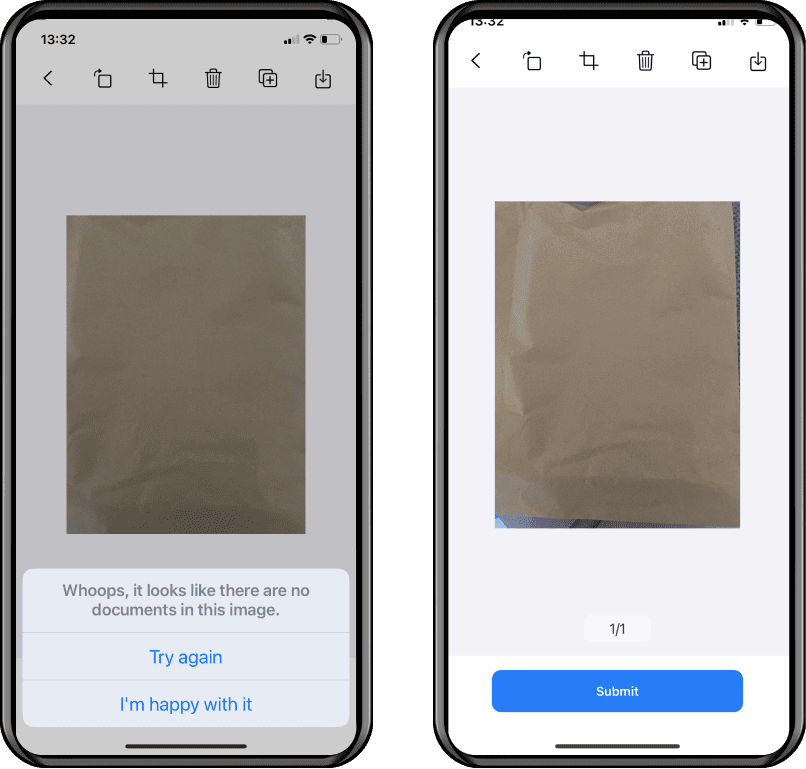
showNoDocumentDetectedWarning
Allows to show or hide a warning on the confirmation screen when Lens cannot detect a document in the image. (default: true)
- iOS
- Android

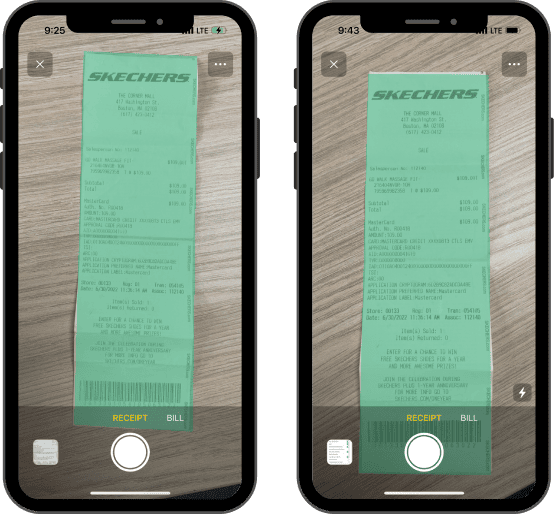
showGuideCounter (Veryfi Lens for Long receipt only)
Determines the number of times the long receipt tour guide is displayed (default: 0)
stitchedPDFPixelDensityMultiplier
Multiplier for the image resolution being drawn on the PDF. Valid range is: 1.0 to 5.0 (default: 2.0)
Camera Customization
autoCaptureIsOn
Enable Auto Capture to allow the app to automatically capture the document, selecting the best frame for optimal image quality and processing. This feature simplifies the user experience and enhances document capture accuracy (default: false).
Disabling auto-capture for credit cards is not recommended as it ensures accurate information extraction.
- iOS
- Android

autoDocDetectionAndCropIsOn
Enable Auto Doc Detection And Crop to automatically detect, highlight, and crop documents during camera image capture (default: true). When set to false, the green detection box won't be displayed, and the image won't be cropped.
- iOS
- Android


autoLightDetectionIsOn
Control the automatic illumination of documents by enabling or disabling the Auto Light Detection feature. When set to true, the SDK intelligently adjusts the lighting to optimize document visibility. For manual control, turn this setting ON (default: false).
- iOS
- Android

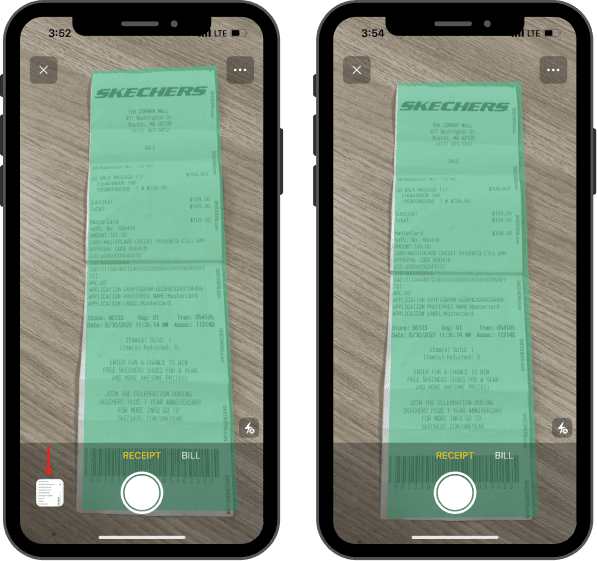
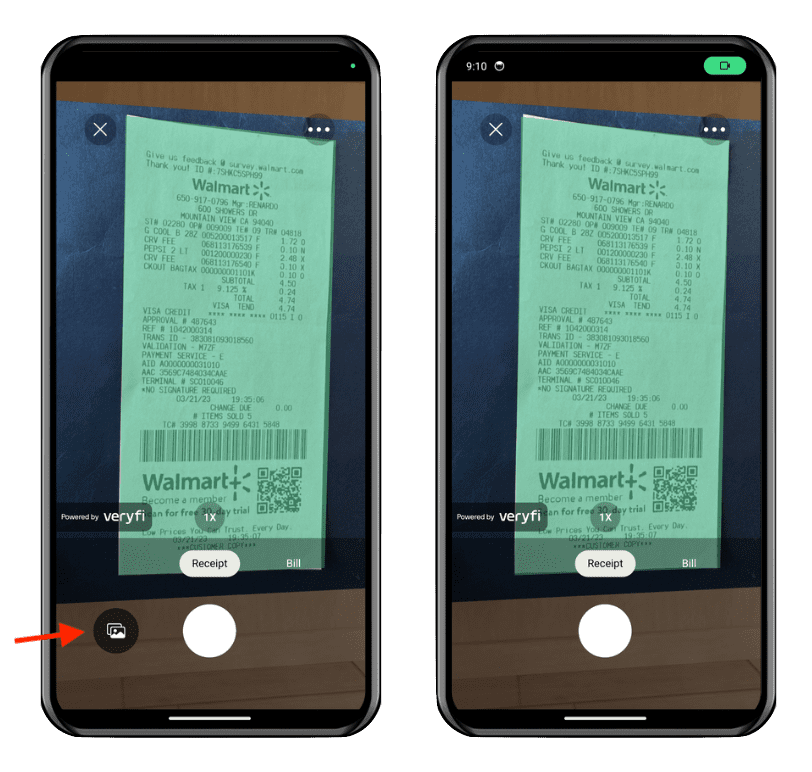
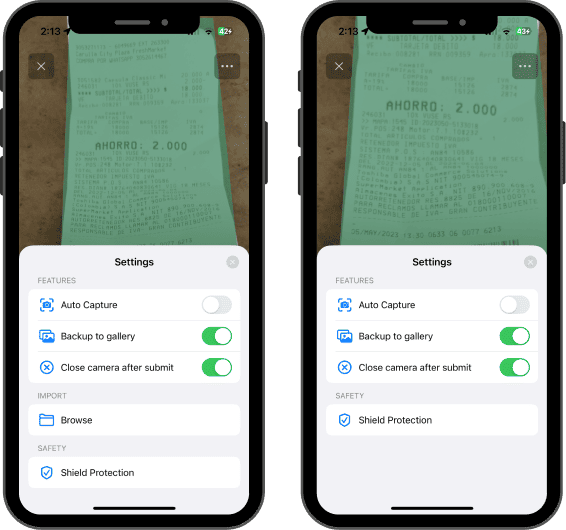
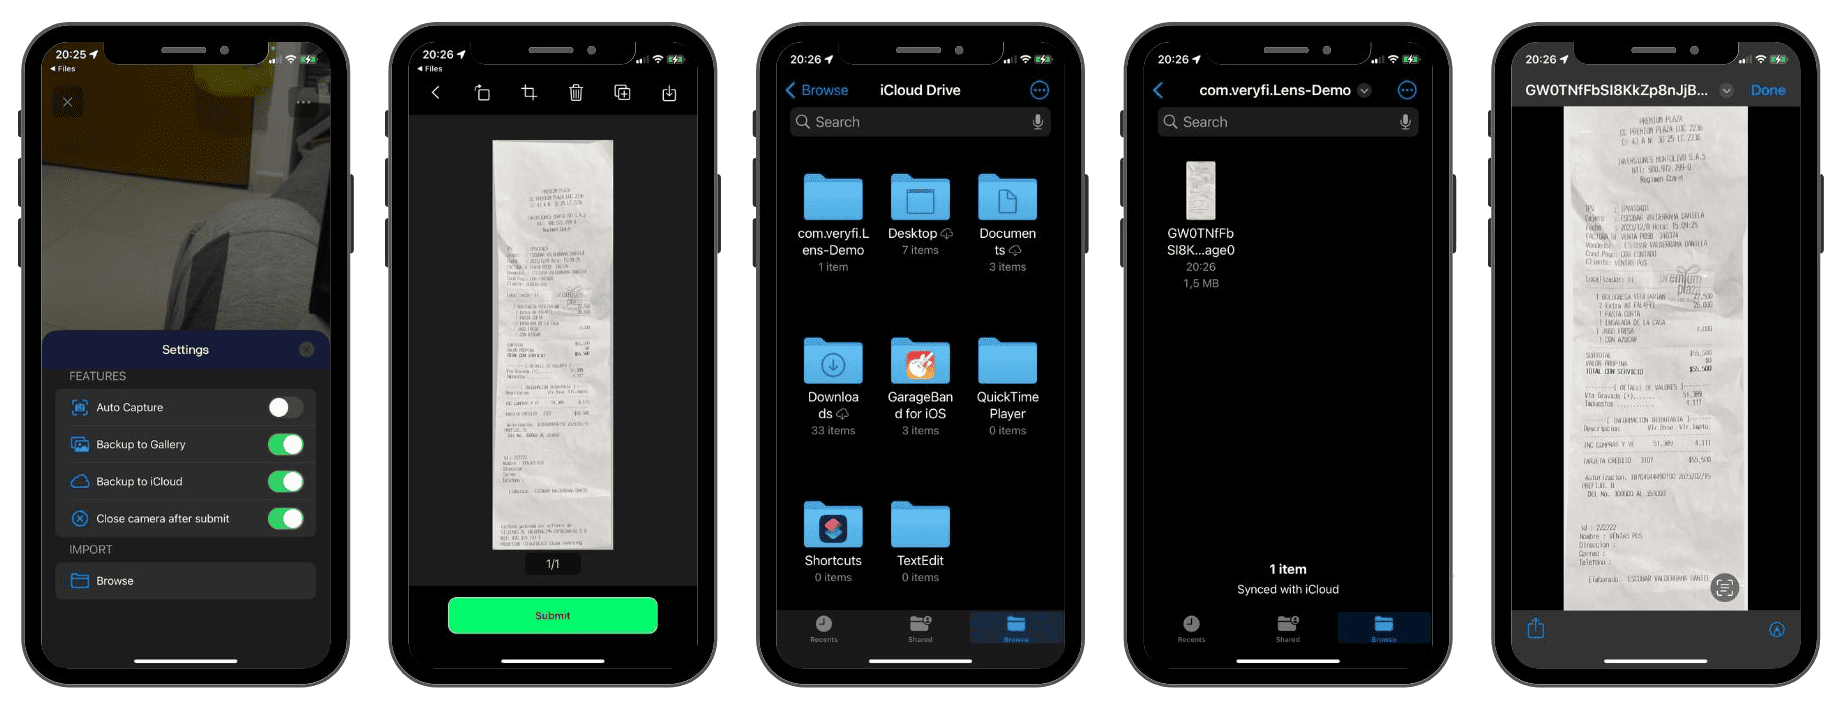
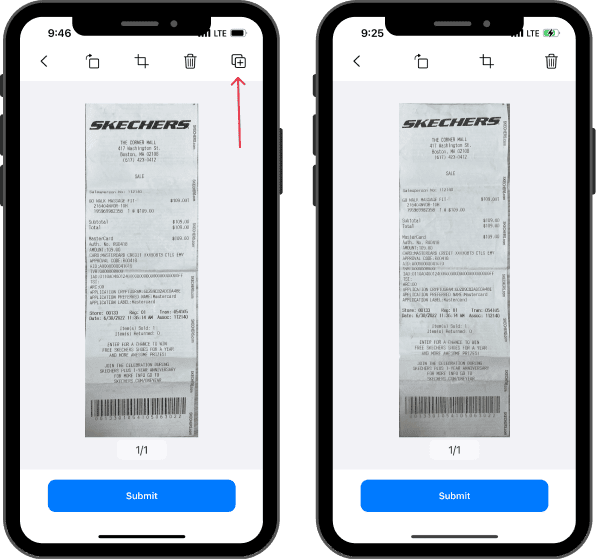
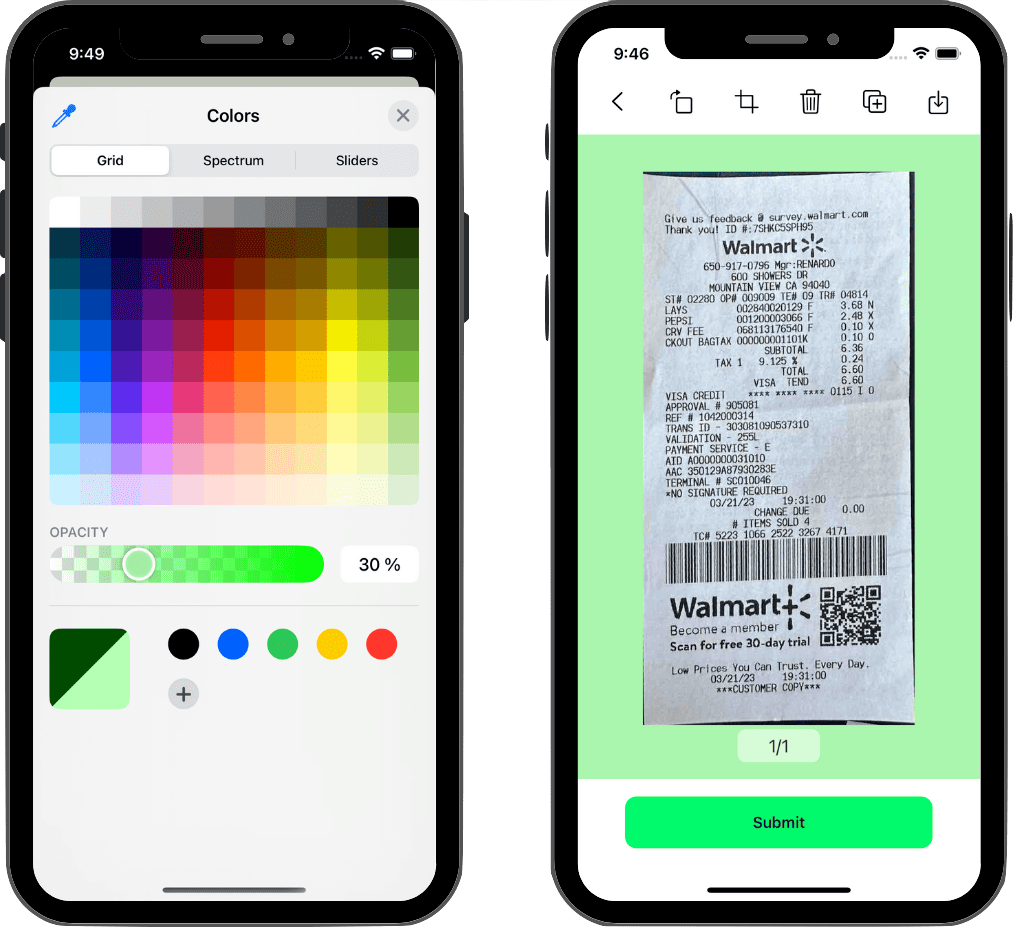
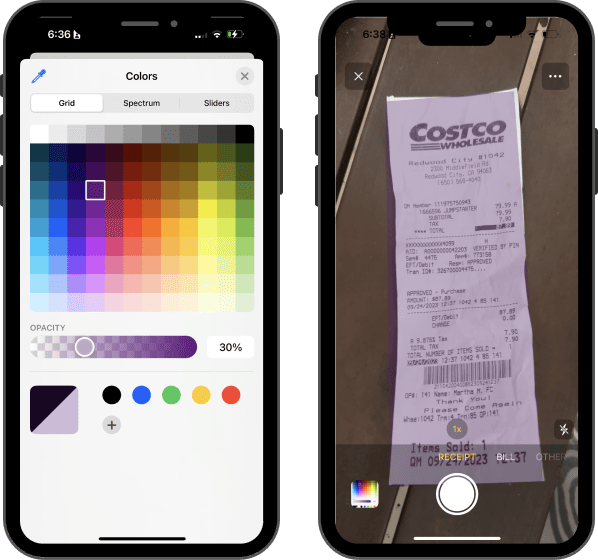
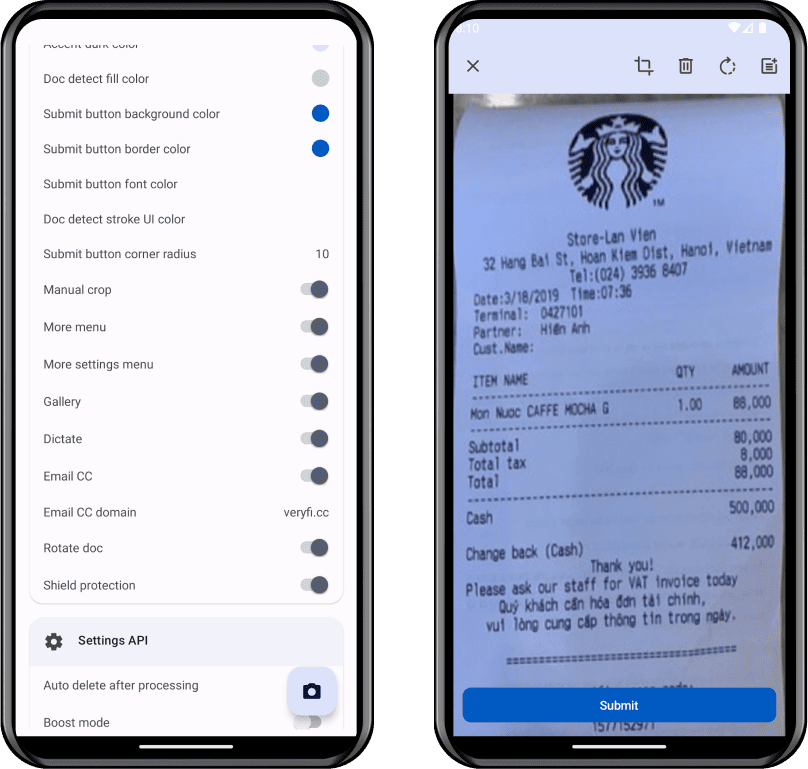
galleryIsOn
Toggle Gallery in the Lens SDK to enable or disable the photo gallery feature. By default, this option is enabled (true), which means that users can access their device's photo gallery from the camera screen to select an existing photo to process.
- iOS
- Android
moreMenuIsOn
Toggle More Menu in the Lens SDK to enable or disable the showing of the more menu. By default, this option is enabled (true), which means that users can access the more menu by tapping the "Three Dots" button in the camera screen.
- iOS
- Android

multiplePagesCaptureIsOn
If enabled, it will detected and process multiple documents in the same scan. (default: true)
- iOS
- Android
ocrViewHeight (Veryfi Lens for OCR only)
Adjust the Ocr View Height setting to modify the height of the OCR view mask (default: 8). This customization allows you to better fit the capture area within your app's design and provide a more consistent user experience.
- iOS
- Android


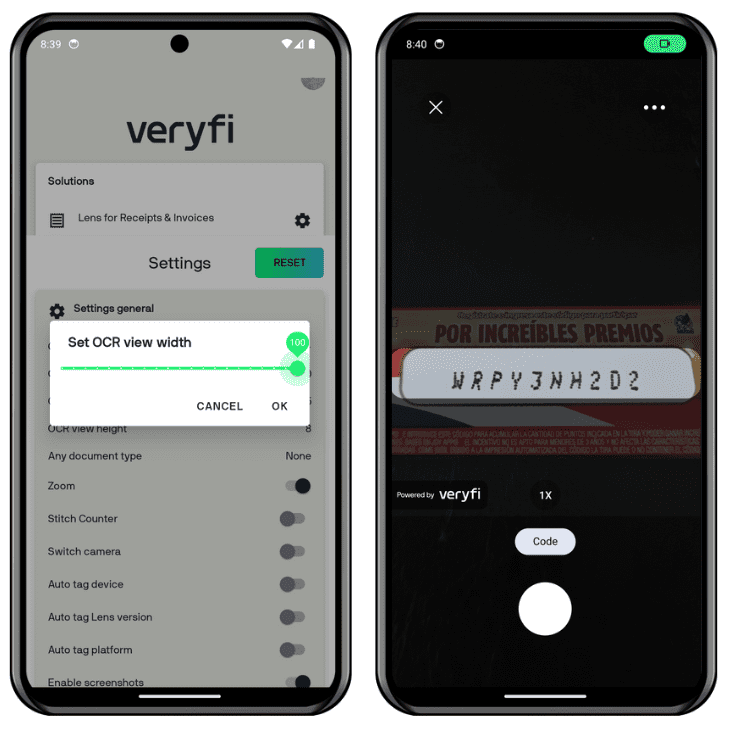
ocrViewWidth (Veryfi Lens for OCR only)
Configure the Ocr View Width setting to modify the width of the OCR view mask (default: 85). This customization allows you to better fit the capture area within your app's design and provide a more consistent user experience.
- iOS
- Android

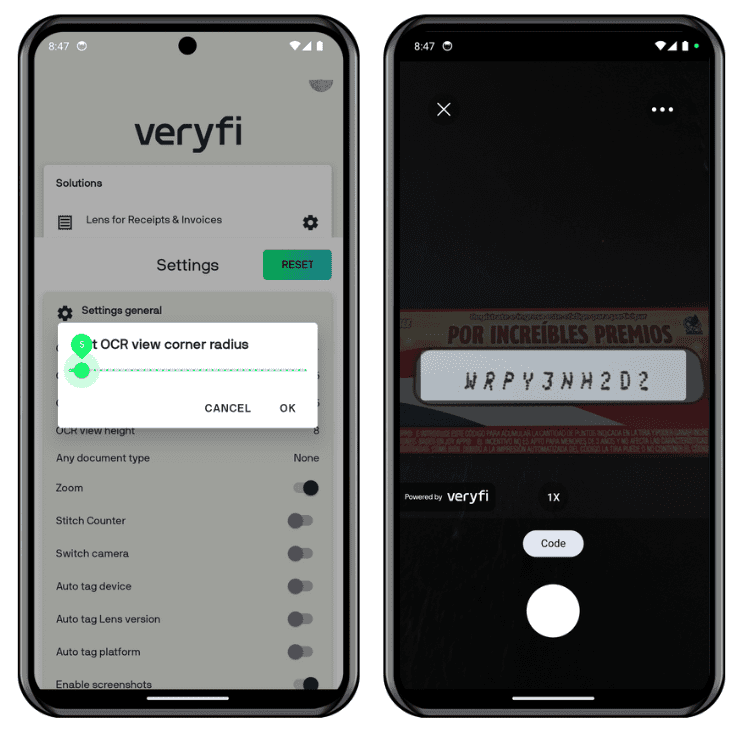
ocrViewCornerRadius (Veryfi Lens for OCR only)
Use the Ocr Corner Radius setting to adjust the radius of the OCR view mask, allowing you to customize the appearance of the capture area to better match your app's design and provide a more consistent user experience.
- iOS
- Android

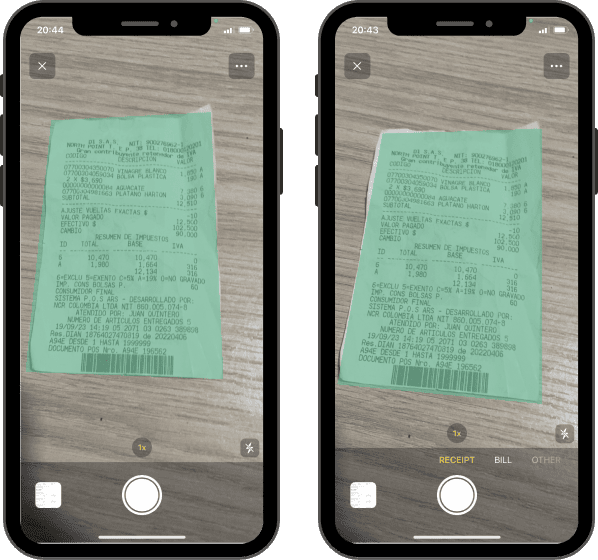
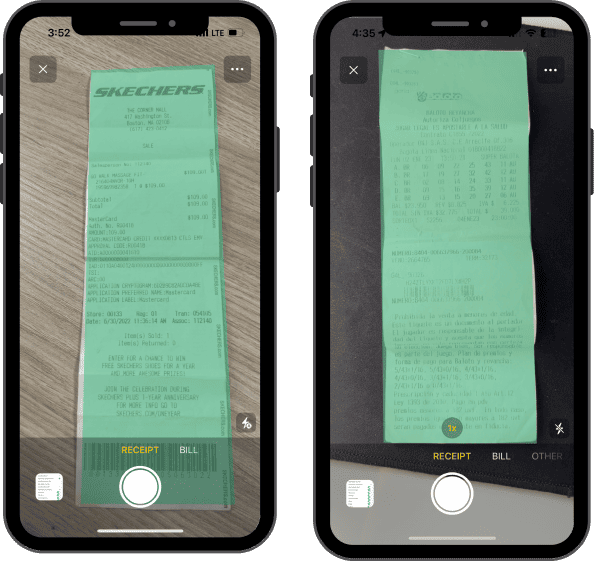
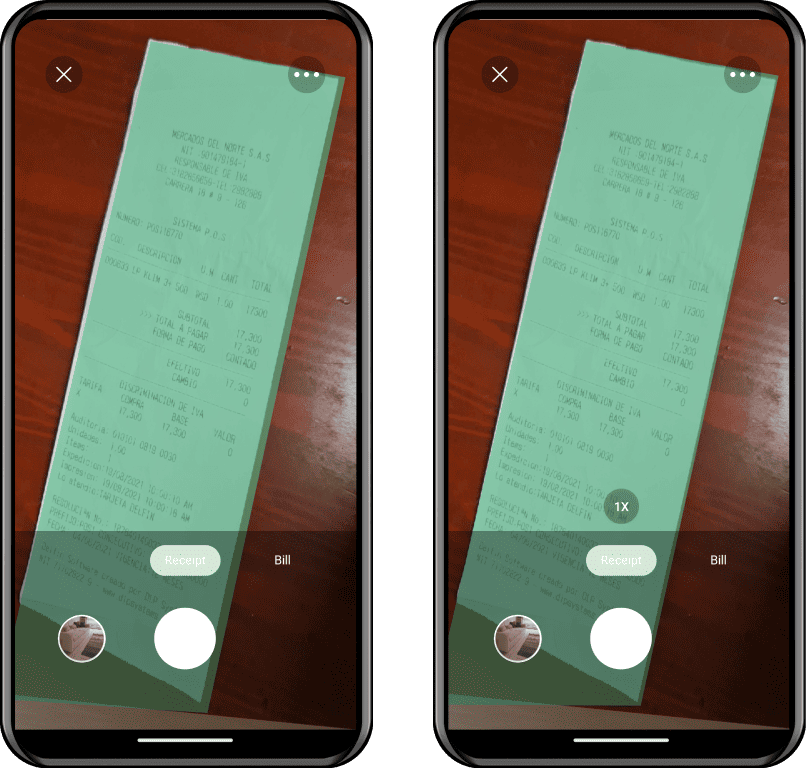
showDocumentTypes
When disabled, the default camera experience will be used and all documents will be treated as either a receipt, invoice or bill (auto-detected) (default: false)
- iOS
- Android

showInfoButton
Shows and alters menu options in camera allowing to display custom view on info button. (default: null)
- iOS
- Android


zoomIsOn
Enables/disables the option to zoom in/out in a range 1-2
- iOS
- Android
noCompressOnWifi
When enabled bypasses the compress size of uploaded images to send them full size but only during wifi connection (default: false)
Menu Customization
afterScanCloseCameraIsOn
Enables a menu option in camera settings, so that users can decide whether to close the camera after scanning a document. (default: true)
- iOS
- Android

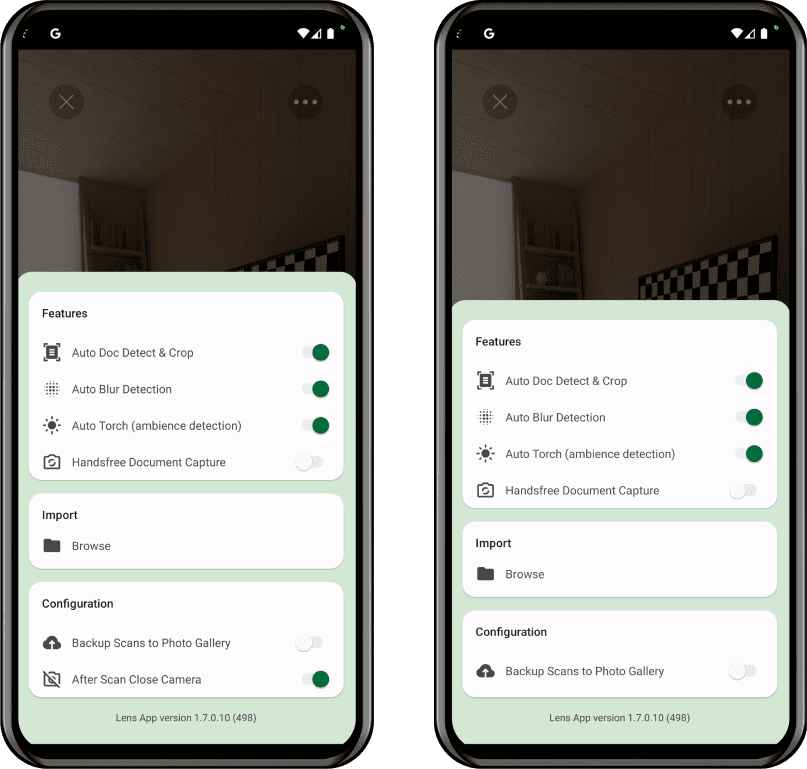
browseIsOn
Use the Browse setting to enable or disable the ability for users to browse documents using the iPhone's Files app (default: true). Customize this feature according to your app's specific document management requirements.
- iOS
- Android
moreSettingsMenuIsOn
Enables/disables the showing of the More > Settings option. NOTE: When this is FALSE all Settings come from the app, not the user (default: true)
packageMaxScans
Number used to set the maximum scans allowed. 10 is the maximum per session. (default: 4)
- iOS
Document Preview Customization
autoSubmitDocumentOnCapture
Activate this setting to skip Document Preview screen and send the scanned document just right after capture (default" false)
- iOS
- Android


allowSubmitUndetectedDocsIsOn
Activate this setting to require users to capture only valid receipts, preventing submission of unrelated images like animals or selfies (default: true).
- iOS
- Android

blurDetectionIsOn
Enable blurDetectionIsOn to check if a captured picture has 20% or more blur (default: true). Blurred receipts may not process well. When set to true, an alert message will be shown to the user, indicating that the image is blurred and may need to be recaptured for better processing.
- iOS
- Android


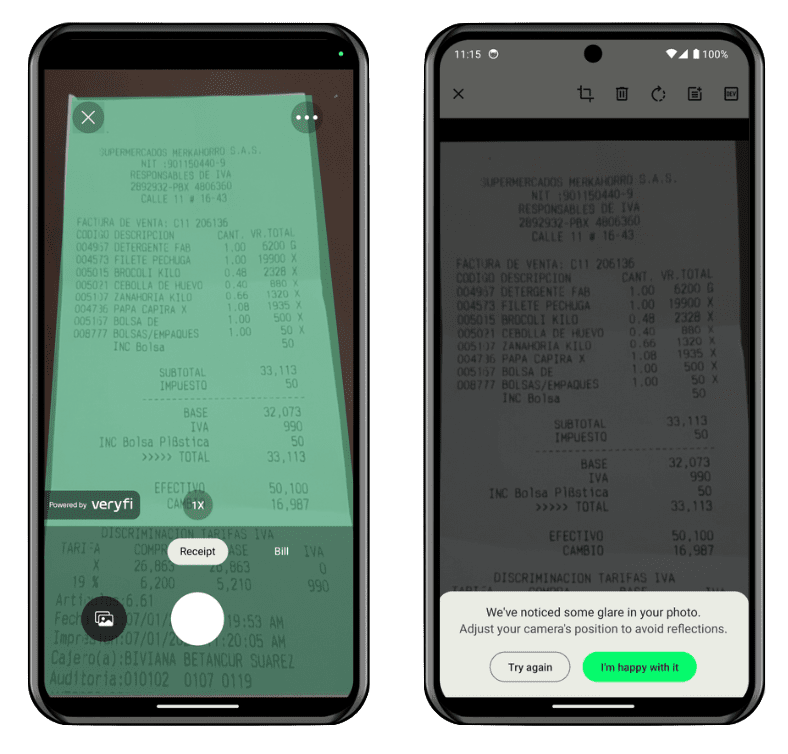
glareDetectionIsOn
Toggle Glare Detection to enable or disable the ability to detect glare in captured images. When set to true, this feature helps ensure better image quality by alerting the user to adjust their position or lighting to reduce glare, resulting in clearer and more readable document captures. (default: true)
- Android
backupDocsToiCloud (iOS Only)
Allows backing up scanned images in iCloud Documents folder
For this setting to work you need the iCloud configuration steps in your own app
#1. In your Target go to Signing & Capabilities -> Add iCloud Capability -> In Services check iCloud Documents and add your container (usually `iCloud.YOUR_BUNDLE_ID)
#2. Add this at the end of your Info plist file
<key>NSUbiquitousContainers</key>
    <dict>
        <key>YOUR-CONTAINER-NAME</key>
        <dict>
            <key>NSUbiquitousContainerIsDocumentScopePublic</key>
            <true/>
            <key>NSUbiquitousContainerName</key>
            <string>YOUR-BUNDLE-ID</string>
            <key>NSUbiquitousContainerSupportedFolderLevels</key>
            <string>Any</string>
        </dict>
    </dict>
before the last enclosing keys
</dict></plist>
- iOS
switchCameraIsOn
Allows scanning with front camera
- iOS
- Android


showStitchCounterNumber
Shows a small badge in scans right preview views with the current scan count
- iOS
- Android

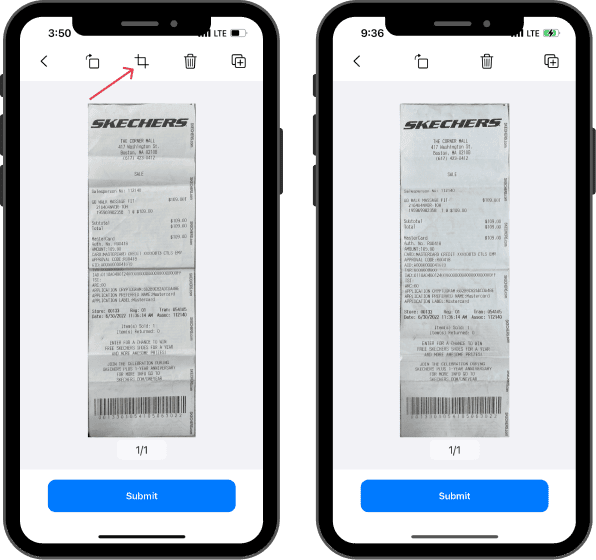
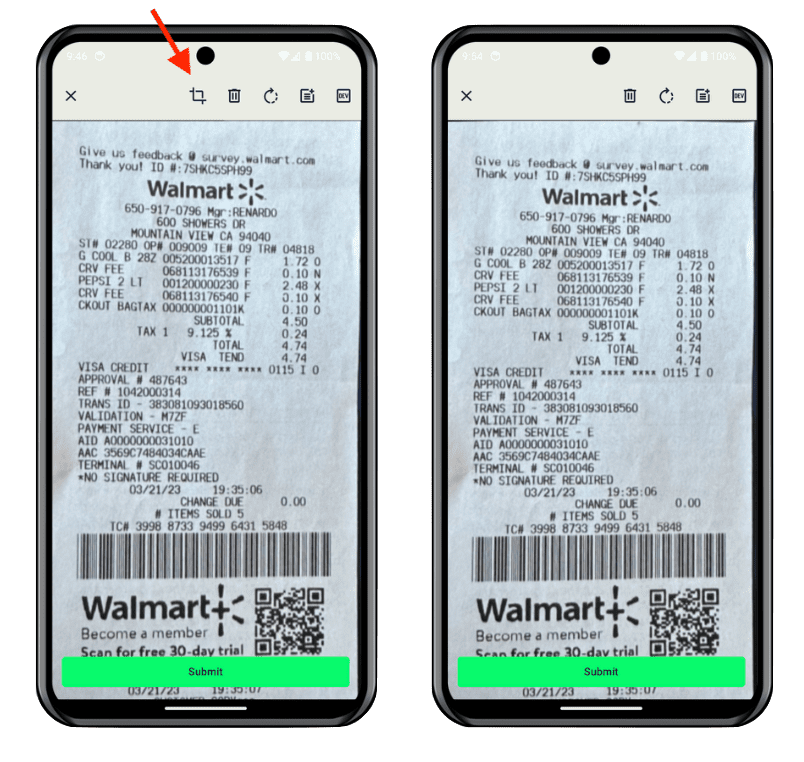
manualCropIsOn
Toggle Manual Crop in the Lens SDK to enable or disable the option to manually crop an image before submitting it for processing. By default, this option is enabled (true), which means that users can manually crop the image they capture before submitting it.
- iOS
- Android
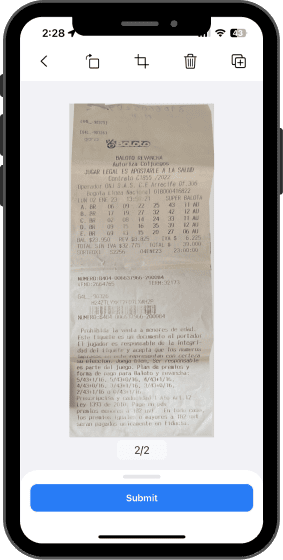
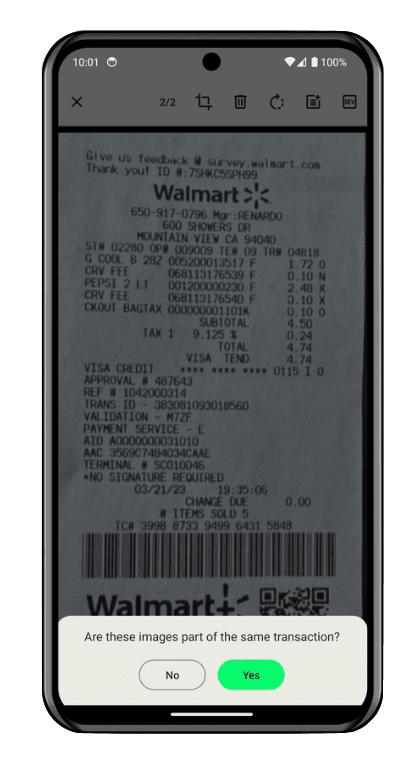
multipleDocumentsIsOn
Use the Multiple Documents setting to enable or disable processing multiple stitched images as separate transactions (default: false). Note that this feature requires stitchIsOn to be enabled. Adjust this setting according to your app's transaction management needs.
- iOS
- Android
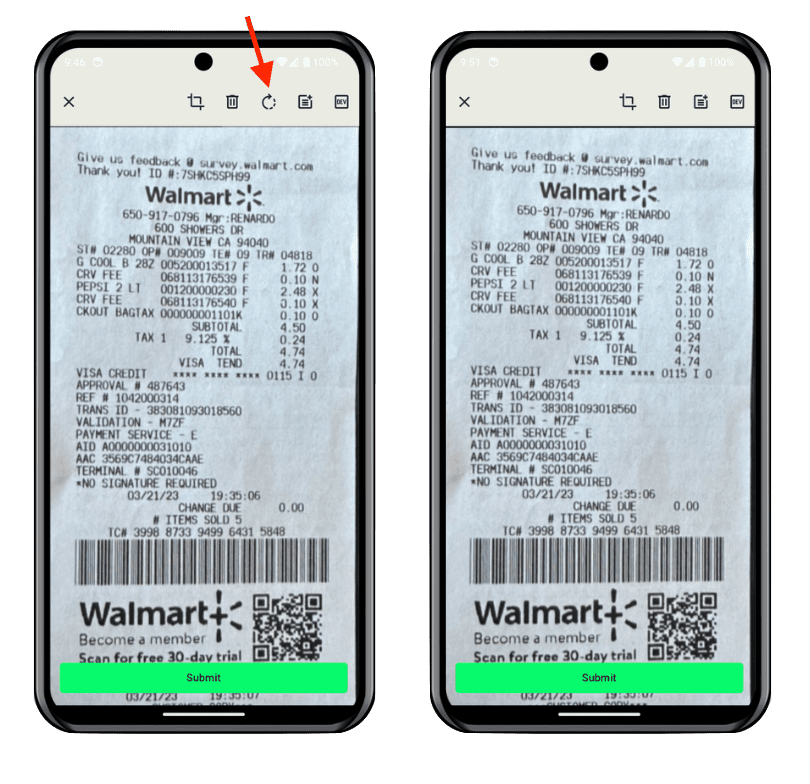
rotateDocIsOn
Toggle Rotate Doc to enable or disable the option to rotate a document by 90 degrees clockwise on each press (default: true).
- iOS
- Android

stitchIsOn
Toggle the ability to combine multiple receipts into a single PDF with our Stitch feature (default: true).
- iOS
- Android

shareLogsIsOn
Enables an option on the preview screen to share the logs for debugging. Recommended to be disabled in production (default: false)
- iOS
- Android

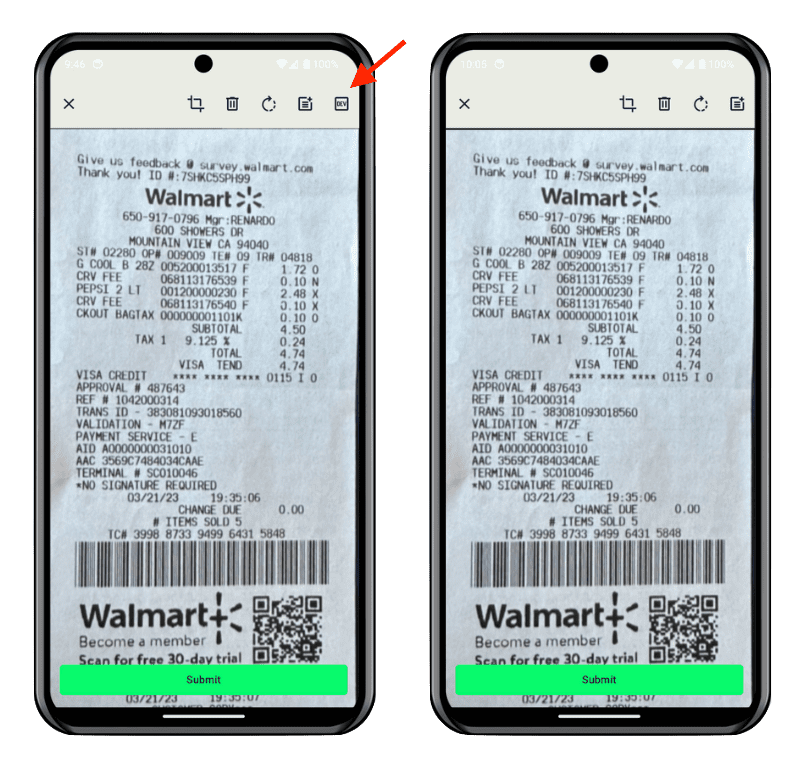
Image Processing Settings
autoRotateIsOn
Enable the Auto Rotate setting to automatically rotate captured images, ensuring the contained document is correctly oriented (default: false). This feature enhances image readability and improves document processing accuracy.
- iOS
- Android

autoSkewCorrectionIsOn
Enable Auto Skew Correction to automatically correct image skewing during the capture process. This feature helps ensure that documents are properly aligned and oriented, resulting in improved readability and processing accuracy (default: true).
- iOS
- Android

autoCropGalleryIsOn
Enable Auto Crop Gallery to apply document detection and auto-cropping on documents imported from the image gallery (default: false). This feature ensures consistent image quality and processing efficiency for both camera-captured and gallery-imported images.
- iOS
- Android


autoCropBrowserIsOn
Enable Auto Crop Browser to apply document detection and auto-cropping on documents imported from the file browser (default: false). This feature ensures consistent image quality and processing efficiency for both camera-captured and gallery-imported images.
- iOS
- Android
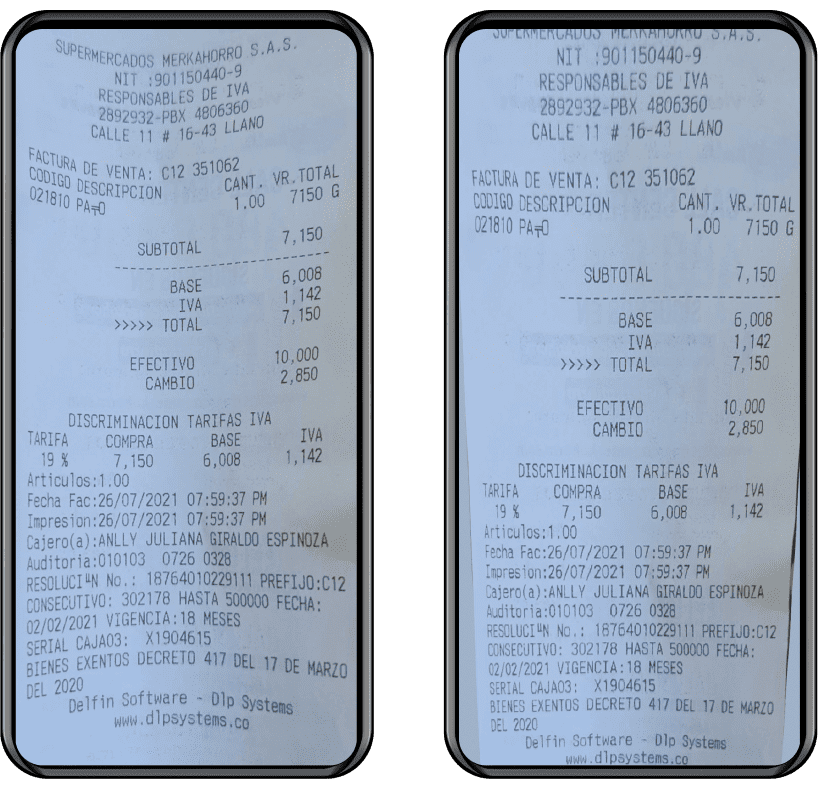
cleanBorderIsOn
Toggle Clean Border to enable or disable the clean-borders post-processing feature. This setting helps refine the appearance of document edges after capture, resulting in a cleaner and more professional-looking final image (default: false).
- iOS
- Android
dewarpingIsOn
Enable Dewarping to activate or deactivate the dewarping algorithm, which corrects image distortion. When set to true, be aware that it may add some seconds to the image processing time, but the result will be a more accurate and visually appealing document.
- iOS
- Android
gpuIsOn
Toggle Gpu to enable or disable machine learning models acceleration. While using the GPU can speed up model processing, it may also consume more resources and drain the battery faster. Adjust this setting based on your app's performance and resource requirements.
GPU Compatibility in Machine Learning Models
Our Machine Learning (ML) models are not universally compatible with all Android device GPUs. The diversity in hardware across the GPU market means that not every chip can support the full range of ML operations. To ensure optimal performance and prevent undesirable behavior, our Lens SDK maintains an internal blacklist of devices that are known to have compatibility issues with GPU-accelerated features.Behavior on Blacklisted Devices
If a device is on the blacklist, even if GPU settings are enabled, the ML models will not utilize the GPU. Instead, processing will automatically revert to the CPU. This switch ensures stability and performance integrity.Updating the Blacklist
We continuously refine and update the blacklist to cover any new devices that might exhibit compatibility issues. If you encounter any problems running our ML models with GPU acceleration enabled, please contact us. Provide details about the issue and your device model so we can investigate and update our blacklist appropriately.- Download Blacklisted Devices.
softBinarizationIsOn
Enables a filter option that improve on documents scanned with low natural light. (default: false)
- iOS
- Android

showLCDIsNotAllowed
Enable to lock scans taken from LCD screens. (default: false)
- iOS
- Android

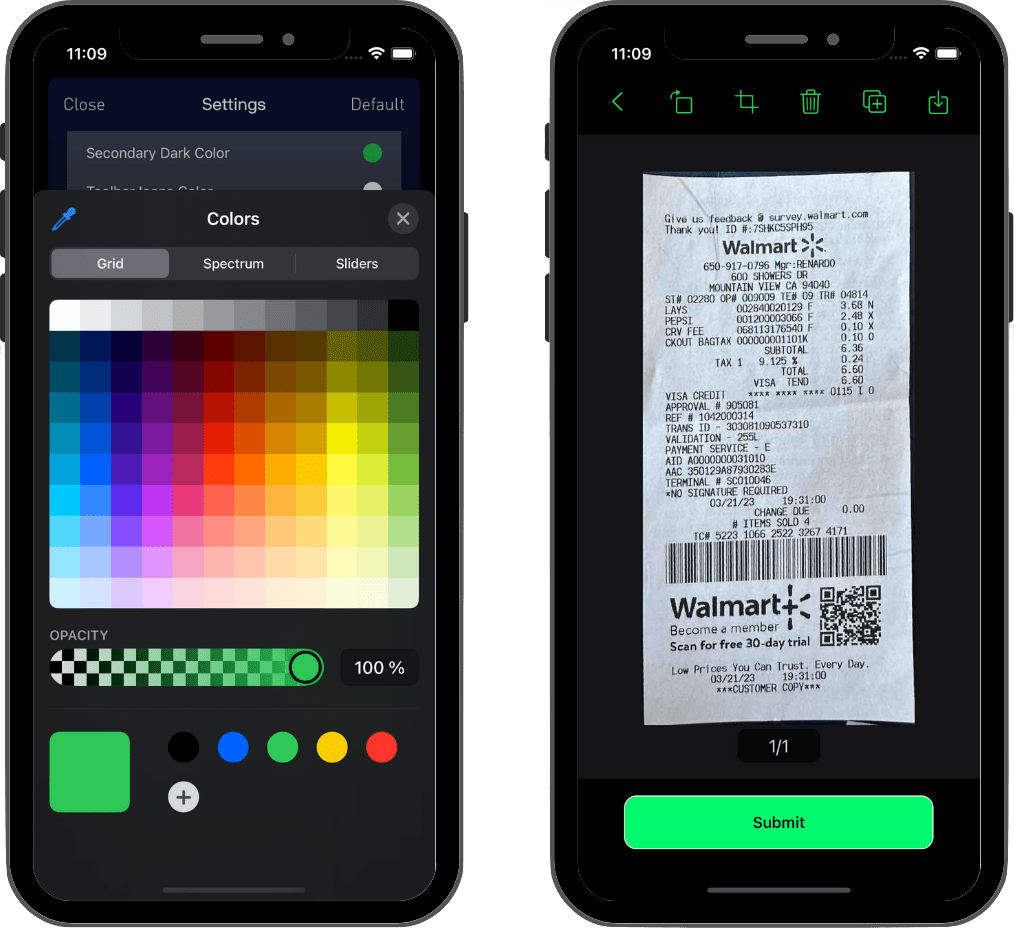
Colors Customization
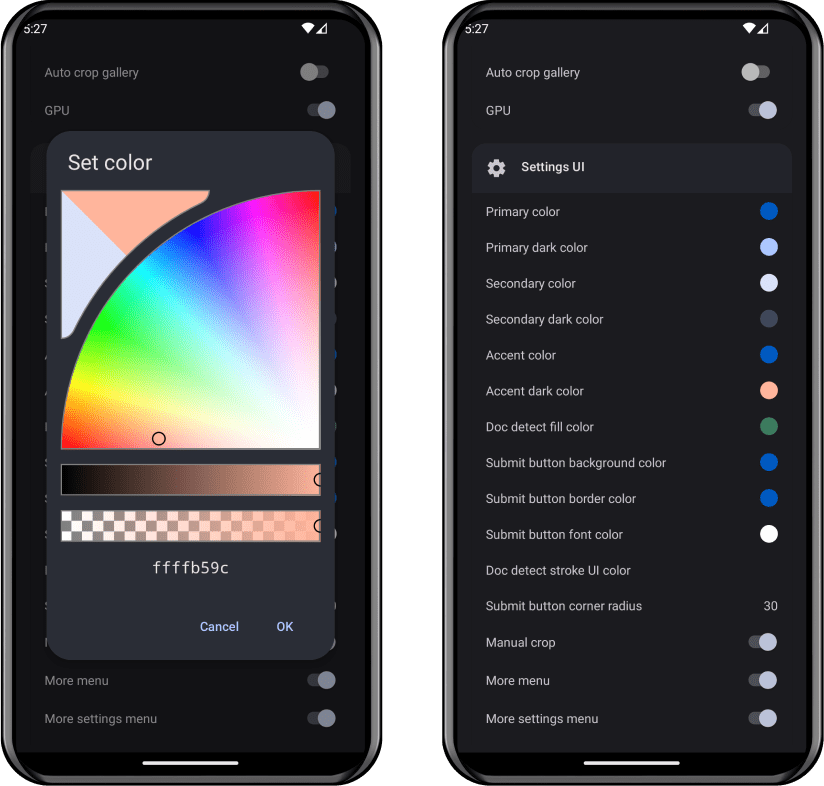
accentColor (Android Only)
Accent color used by material design (default: "#005AC1")

accentDarkColor (Android Only)
Accent dark color used by material design (default: "#DBE2F9")
backgroundColorConfirmationScreen
The color setting specifies the background color displayed on the Confirmation Screen.
- iOS
- Android
Default: #F2F2F71
Default: #000000
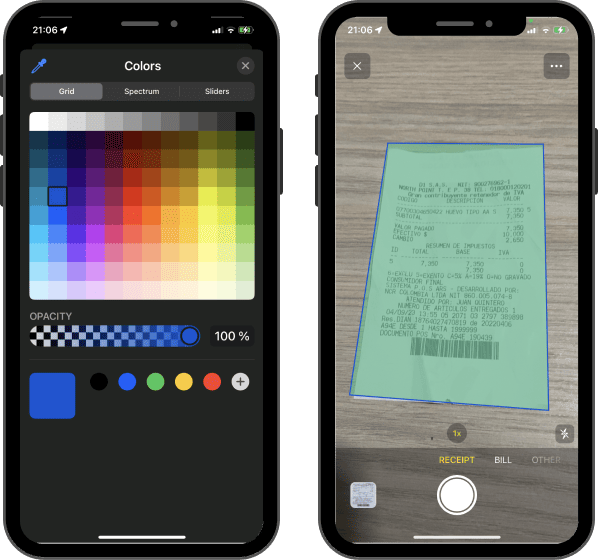
docDetectFillUIColor
Document detection rectangle fill color. Android Opacity is controlled by the first two letters (default: "#9653BF8A")
- iOS
- Android

docDetectStrokeUIColor
Document detection rectangle stroke color (docDetectStrokeUIColor: null)
- iOS
- Android

documentTypesTextColor (Android only)
Color used for the text in the document type selected

dialogMessageColor (Android only)
Color used for the message in the dialogs
dialogMessageColorDark (Android only)
Color used for the message in the dialogs in dark mode
dialogRightButtonTextColor (Android only)
Color used for the text in the right button in the dialogs
dialogRightButtonTextColorDark (Android only)
Color used for the text in the right button in the dialogs for dark mode
dialogRightButtonBackgroundColor (Android only)
Color used for the background in the right button in the dialogs
dialogRightButtonBackgroundColorDark (Android only)
Color used for the background in the right button in the dialogs for dark mode
dialogLeftButtonTextColor (Android only)
Color used for the text in the left button in the dialogs
dialogLeftButtonTextColorDark (Android only)
Color used for the text in the left button in the dialogs for dark mode
primaryColor (Android Only)
Main color used by material design (default: "#4285f4")

primaryDarkColor (Android Only)
Main dark color used by material design (default: "#ADC6FF")
secondaryColor
iOS: The secondary color setting specifies the accent color displayed in the app. By default, the color is black. (default: "#000000") Android: The secondary color used by material design (default: "#DBE2F9")
- iOS
- Android
secondaryDarkColor
iOS: The secondary dark color setting specifies the accent color displayed in the app in dark mode. By default, the color is White. (default: "#FFFFFF") Android: The secondary dark color used by material design (default: "#3F4759")
- iOS
- Android


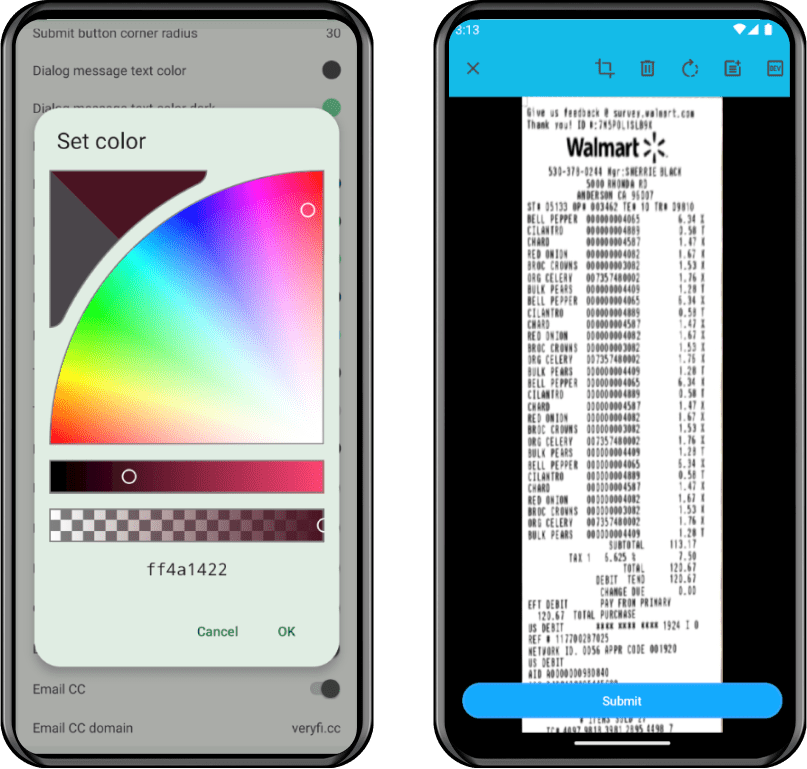
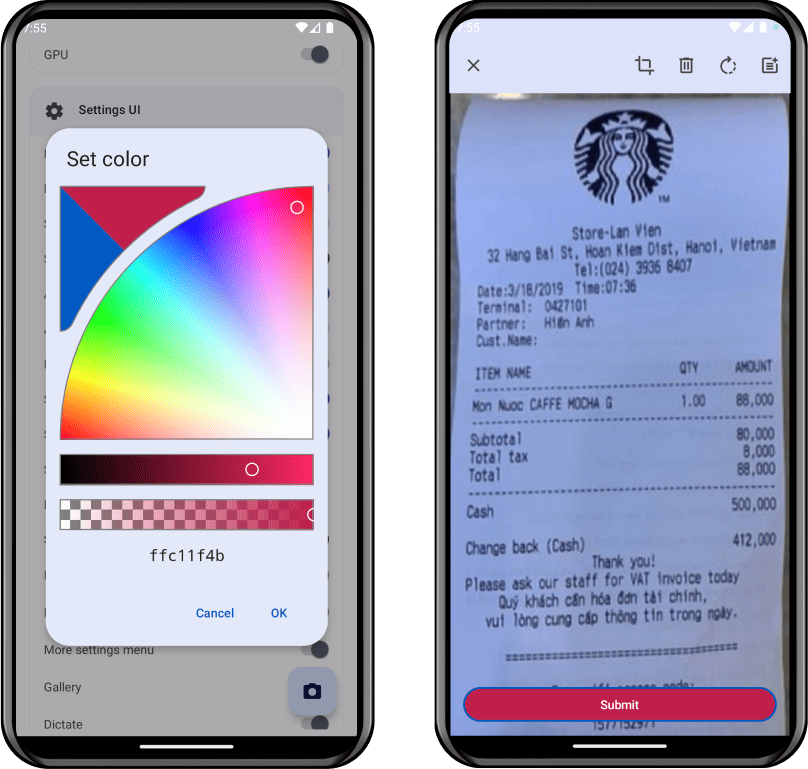
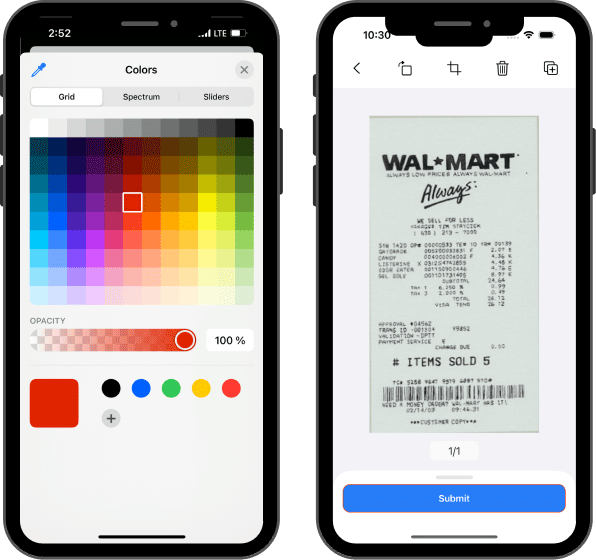
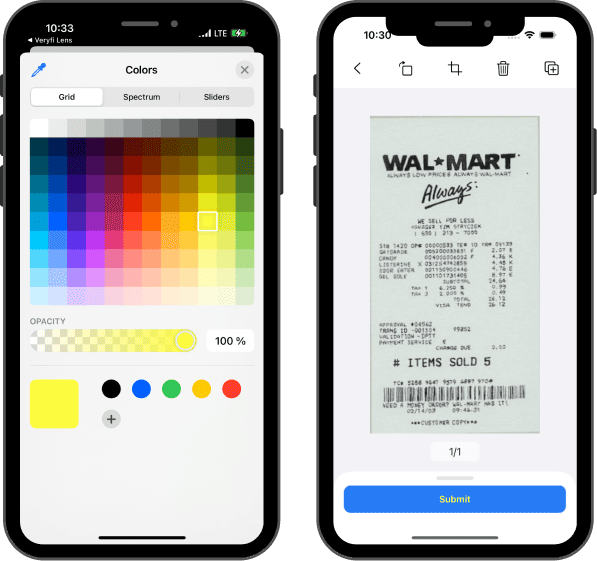
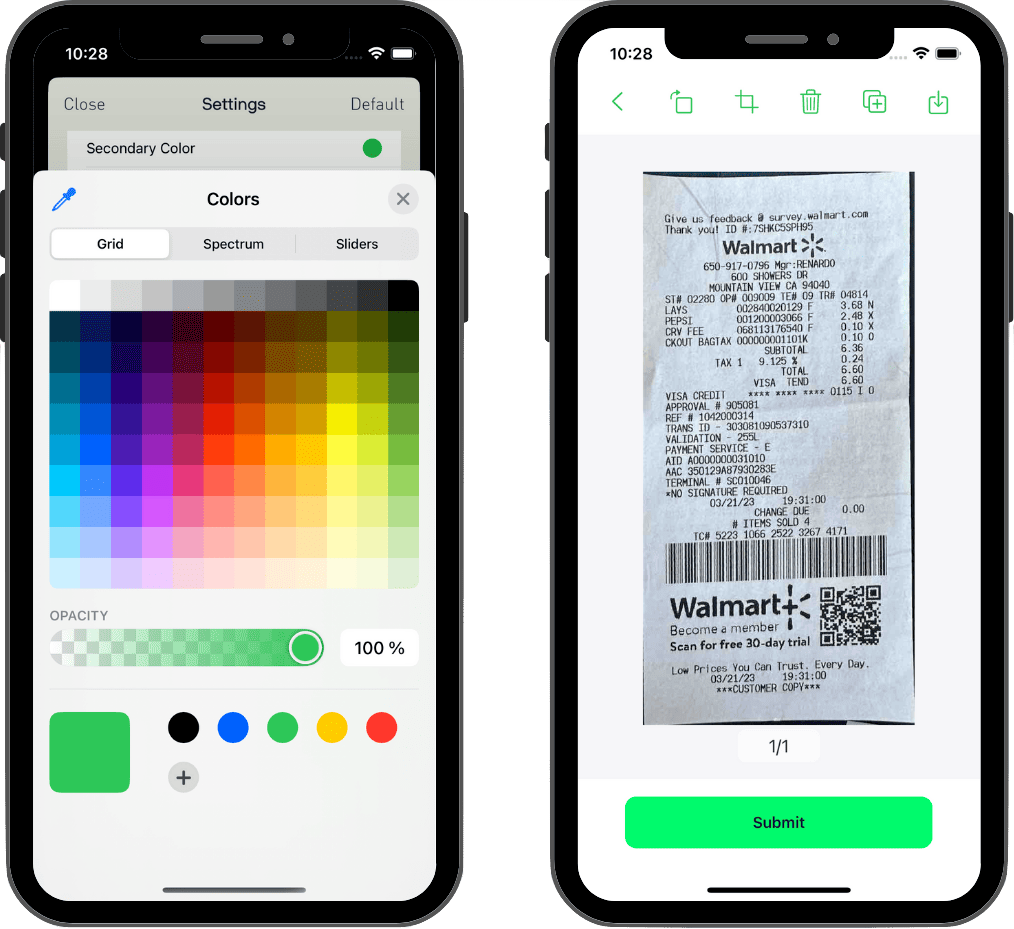
submitButtonBackgroundColor
The Submit Button Background Color setting in the Lens SDK specifies the background color of the submit button. By default, the submit button has a background color of #005AC1.
- iOS
- Android

submitButtonBorderColor
The Submit Button Border Color setting in the Lens SDK determines the color of the submit button's border. By default, the submit button has a border color of #005AC1.
- iOS
- Android

submitButtonFontColor
The Submit Button Font Color setting in the Lens SDK specifies the color of the text displayed on the submit button. By default, the text color is set to #FFFFFF, which is white.
- iOS
- Android

submitButtonCornerRadius
Number used to set submit button corner radius (default: 30)
- iOS
- Android

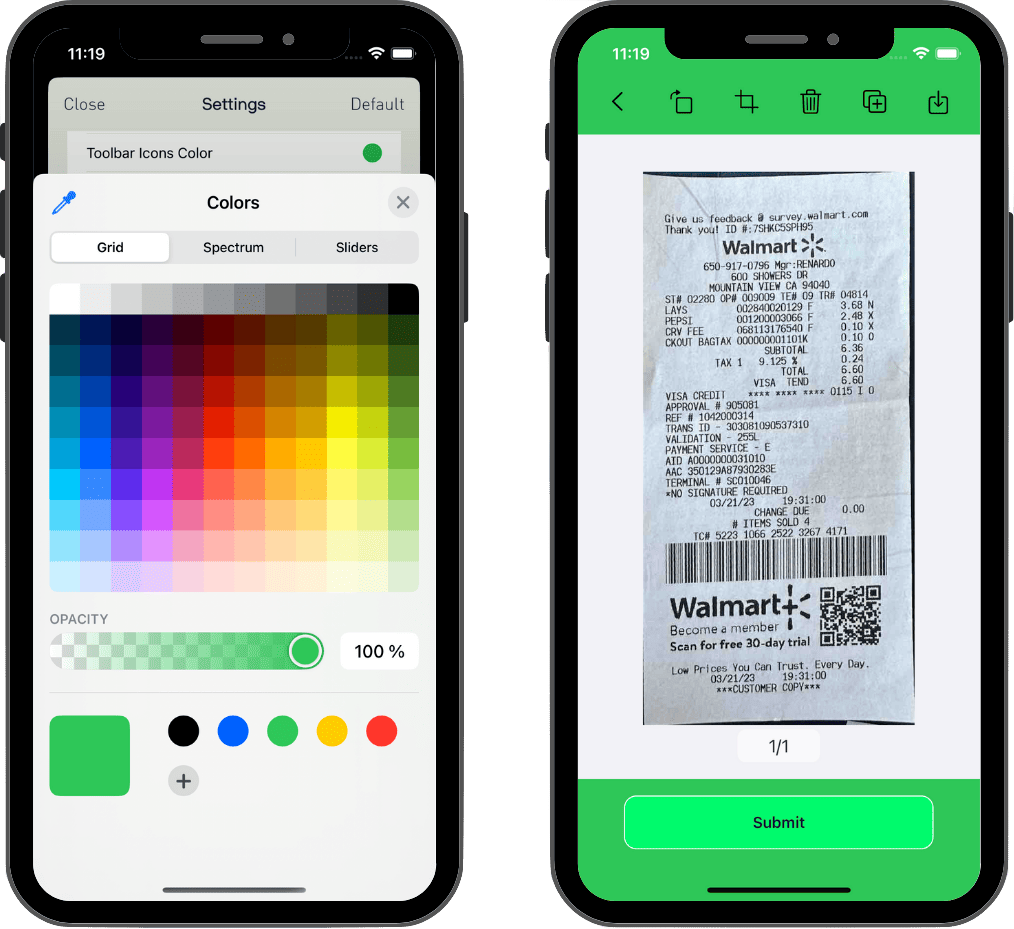
toolbarIconsColor
iOS: This is the color used for the icons in the toolbar. By default, the color is White. (default: "#FFFFFF") Android: This is the color used for the icons in the toolbar.
- iOS
- Android
toolbarIconsDarkColor
iOS: This is the color used in dark mode for the icons in the toolbar. By default, the color is Black. (default: "#000000") Android: This is the color used in dark mode for the icons in the toolbar.
- iOS
- Android
gridIsOn (iOS only)
Enables grid in camera to improve visual cues during document scan
gridStrokeColor (iOS only)
Color used camera grid when gridIsOn setting is enabled
Data Extraction Settings
autoTagSource
Toggle the Auto Tag Source setting to tag automatically document sources (gallery, browse, camera) (default: false).
autoTagDeviceId
Toggle the Auto Tag Device Id setting (default: false).
autoTagLensVersion
Toggle the Auto Tag Lens Version setting (default: false).
autoTagPlatform
Toggle the Auto Tag Platform setting (iOS or Android) (default: false).
anyDocumentType
Takes a string that extracts data on any of the supported documents. Currently supported ine, passport, colombian_id. (default: "")
barcodeExtractionIsOn
Toggle the Barcode Extraction setting to enable or disable barcode extraction (default: false). This feature allows your app to extract information from barcodes found on documents.
boundingBoxesIsOn
Enable the Bounding Boxes setting to return the coordinates for the location of fields on the document (default: false).
confidenceDetailsIsOn
Enable the Confidence Details setting to receive additional information about the confidence level of the inference (default: false).
dataExtractionEngine
Configure whether a document should be sent to the server or if the whole processing should be done locally. the available values are 0 = cloud processing and 1 = in-app processing, some document types like code or barcode only support in-app processing at the moment (default: 0)
Wrappers
Available values for wrappers should be strings like: mobile, api and none
    "mobile" -> veryfiLensSettings.dataExtractionEngine = ExtractionEngine.VeryfiInApp
    "api" -> veryfiLensSettings.dataExtractionEngine = ExtractionEngine.VeryfiCloudAPI
    "none" -> veryfiLensSettings.dataExtractionEngine = ExtractionEngine.None
detectBlurResponseIsOn
Toggle the Detect Blur Response setting to enable or disable the is_blurry response, which represents the model's assessment of whether the document is blurred or not (default: false).
ocrRegex (Veryfi Lens OCR only)
Use the Ocr Regex setting to specify the expected character patterns for local OCR auto-capture. This regular expression helps the OCR system better identify and capture relevant information, resulting in more accurate and efficient document processing.
parseAddressIsOn
Enable the Parse Address setting to receive the vendor.parsed_address response, which contains a breakdown of the vendor address into its components, such as street address, postcode, country, etc. (default: false).
externalId
Use the External Id setting to add a unique reference identifier for a scan, allowing you to easily map the document back to your system. This pass-through field helps maintain a clear relationship between the captured documents and their corresponding records in your own database or system.
categories
Optional list of custom categories for Veryfi to use in categorizing submitted documents (default: null)
tags
Optional list of custom tags for Veryfi to use in tagging submitted documents (default: null)
API Settings
autoDeleteAfterProcessing
Enable the Auto Delete After Processing setting to automatically delete documents from the server once they have been processed.
boostModeIsOn
Toggle the Boost Mode setting to enable or disable boost mode (default: false). When enabled, boost mode increases the processing speed of documents within the app, providing a faster and more efficient user experience.
isProduction
Toggle the Is Production setting to enable or disable the use of the production API (default: true).
isReimbursableDefault
Enables reimbursable option for documents (default: false)
webhookIsOn
Allows async document upload by not waiting during processing but listening for the webhook configured in the api web hub(default: false)
Veryfi Lens for Credit Card Settings
creditCardDetectorCardNumber (Veryfi Lens for Credit Cards only)
Configure if the scanner should detect the credit card number (default: true)
creditCardDetectorCardHolderName (Veryfi Lens for Credit Cards only)
Configure if the scanner should detect the credit card holder's name (default: true)
creditCardDetectorCardCVC (Veryfi Lens for Credit Cards only)
Configure if the scanner should detect the credit card CVC (default: true)
creditCardDetectorCardDate (Veryfi Lens for Credit Cards only)
Configure if the scanner should detect the credit card date (default: true)